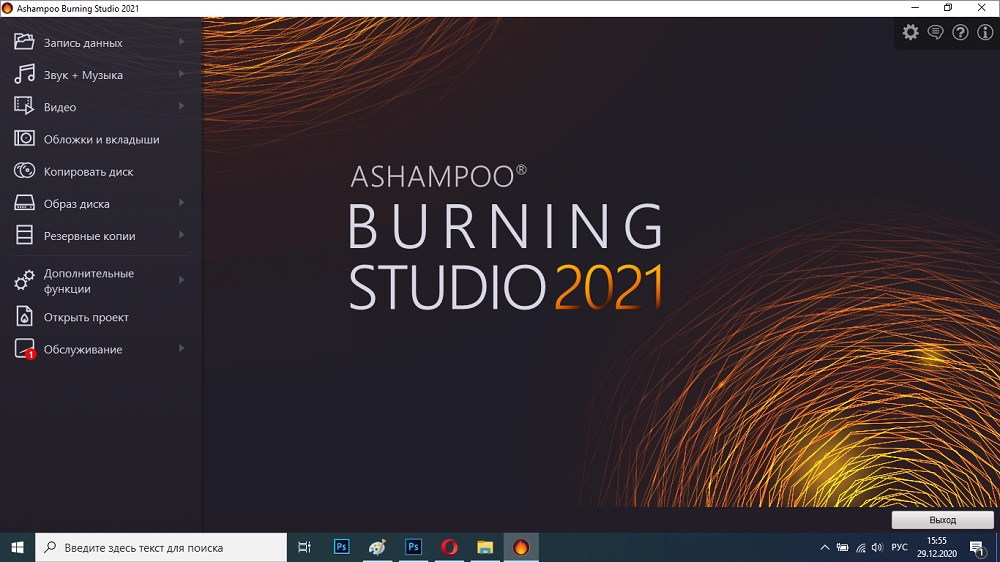
Any computer user has had to change or restore the system at least once. Everyone knows that discs with an autorun function are used for this. When you connect a regular drive, some actions are required on your part, and if the OS is badly damaged, then you will not be able to initiate them. The same thing often happens with a car radio – it cannot read the contents of the folder. To avoid this problem, there are special programs for burning discs, and Ashampoo is one of them. In addition, she copes with other important tasks. Now we will tell you how to use it.
Contents
Ashampoo Burning Studio features
Ashampoo Burning Studio allows you to burn different discs – that’s what this program is. It works with different formats and technologies:
- ISO images;
- MP3;
- DVD;
- Blu-ray.
Ashampoo is used to write:
- ISO images;
- music tracks;
- videos;
- archives;
- copies of other disks;
- files in different extensions (with the ability to sort by folders).
Also, using this software, you can erase the existing information, isolate the sound from the video and translate it into audio, restrict access to viewing with a password. For those who replicate their own music albums, the function of creating cover and annotation will be useful.
Installing the Ashampoo software
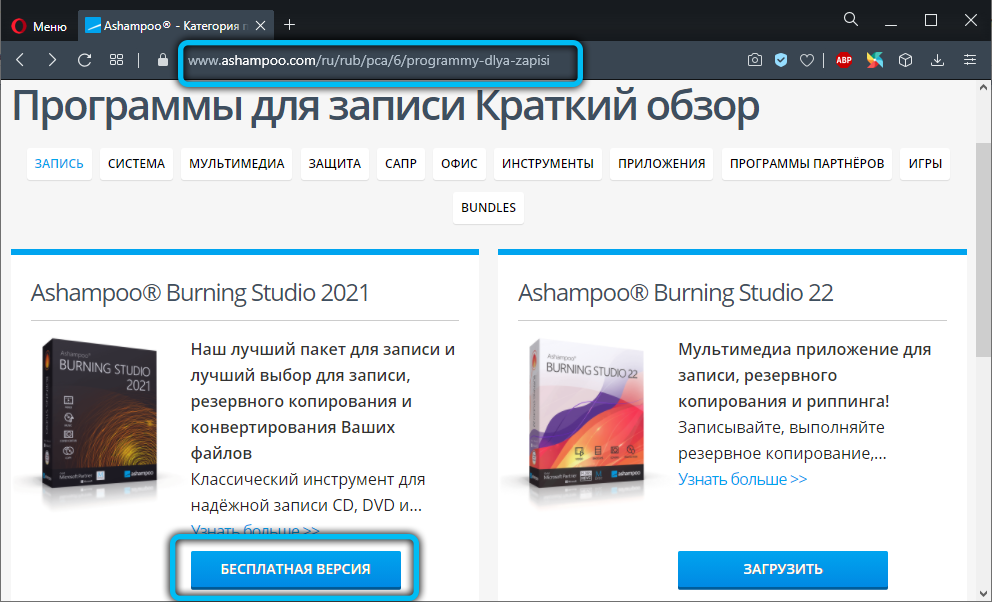
The program is shareware – there is an official version with limited functionality in the public domain. It is marked with the word “free”. Of course, there are some cracked variations, but we do not recommend downloading Ashampoo from unverified repositories.
- Go to the verified website.
- Select the desired product from the list.
- Click the blue Download button or the red Buy button.
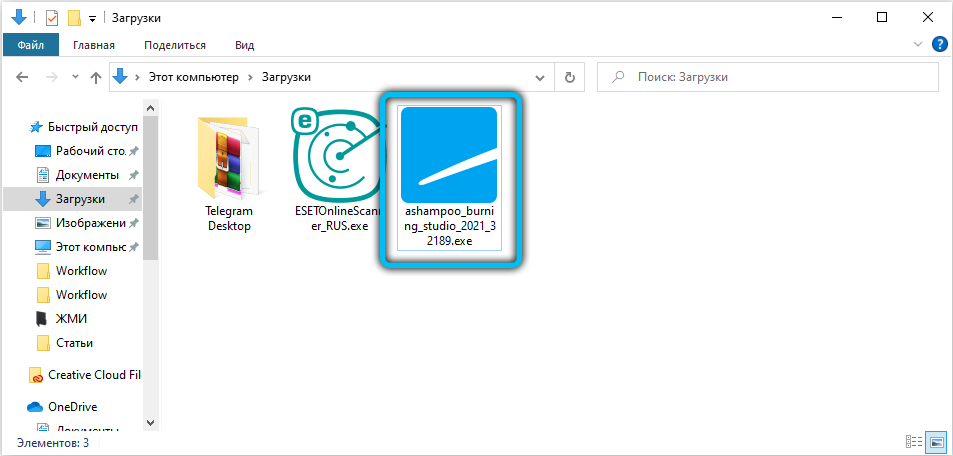
- Wait for the download to finish and click on the file icon.
- You will receive a notification that you need to agree to the installation – click “OK”.
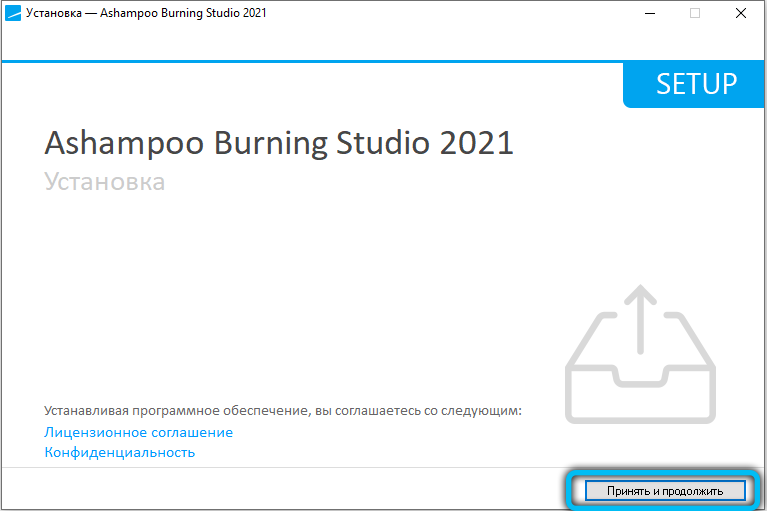
- Specify a language that is convenient for you.
- Uncheck the box “Recommended installation” so that unnecessary software is not imposed on you.
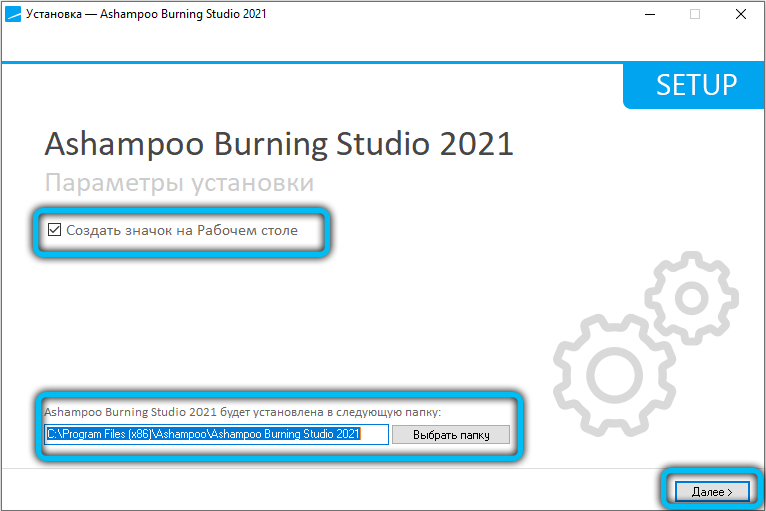
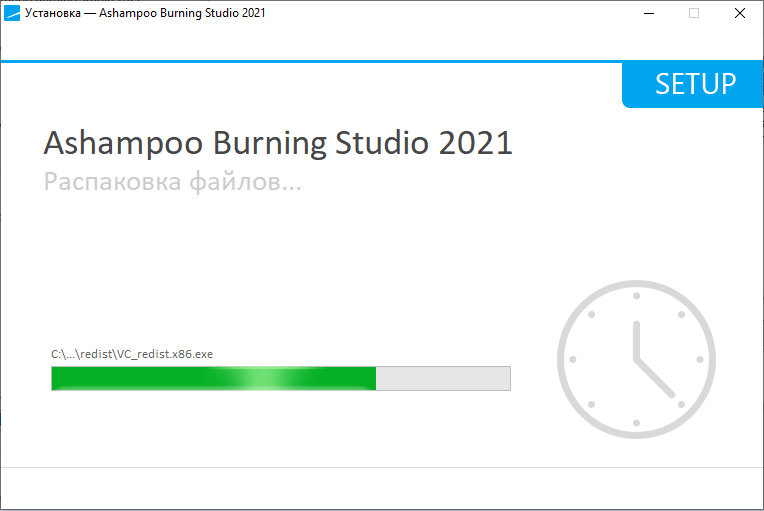
- The progress bar will now appear. In general, the installation is quick, but sometimes it can take half an hour.
- When the bot informs about a successful installation, click “OK”.
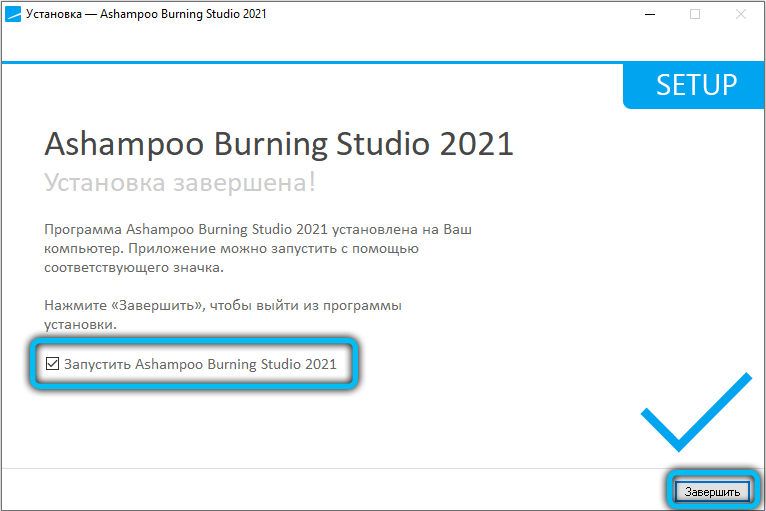
From now on, the software can be used. If you need a shortcut on the “Desktop”, go to “Start” – “All Programs” – “Recently Installed”. Find the Ashampoo icon, click on it with an additional button and select “Submit” – Desktop.
Copying discs
Now let’s take a step-by-step look at how to use Ashampoo and start by copying discs. This requires two floppy drives, otherwise nothing will come of it. But you can do it differently: upload the contents to a PC, and then write to a new disc – just below you will read how this is done.
- Place the original media in one drive and blank media in the other.
- Wait for the computer to detect both devices.
- Start Ashampoo.
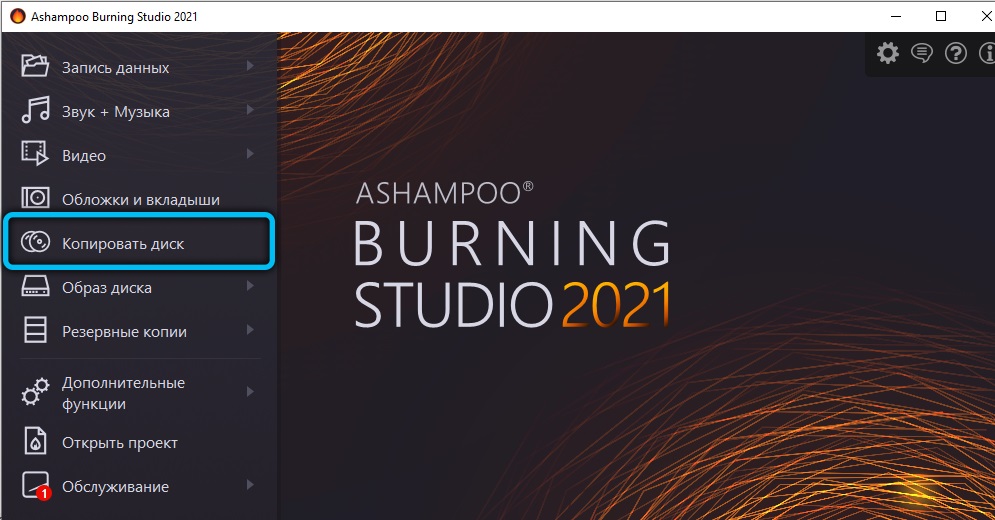
- In the left column, select Copy Disc.
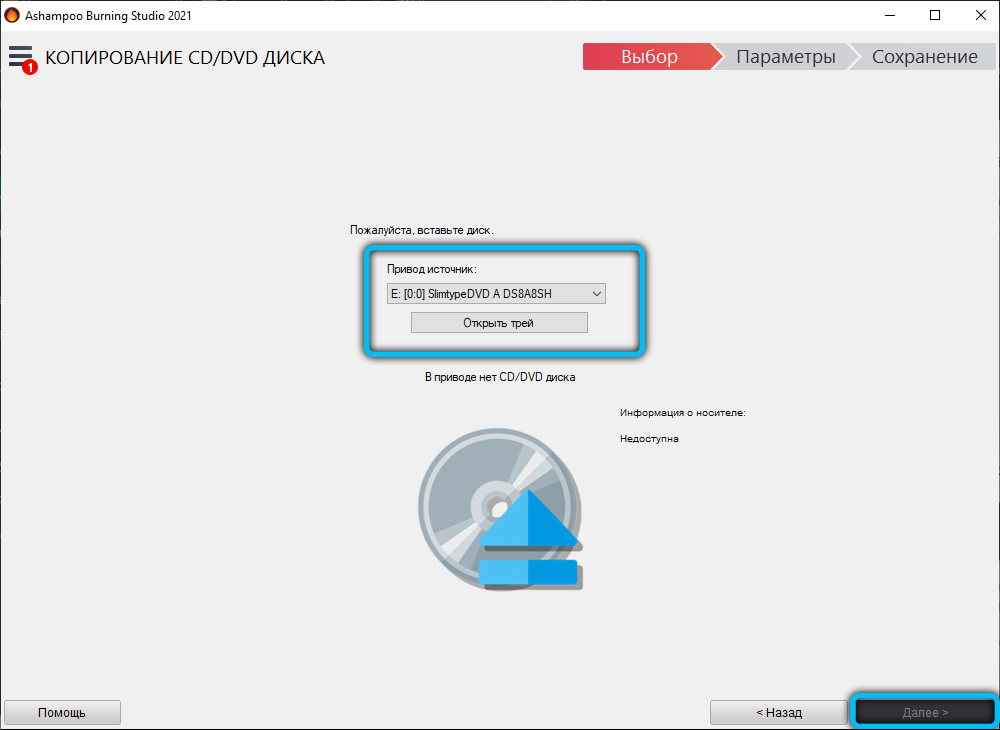
- Please indicate “donor” and copy medium.
- Wait for the process to finish.
There are often unusual buzzing sounds when transferring data – this is normal, don’t worry. The main thing is not to interrupt copying or open floppy drives. As a result, you will get a complete clone of your disk with preservation of partitions, lists, formatting, etc.
Image customization
Now let’s start creating images – this is an encrypted copy of the disk.
- First, insert the media containing the necessary information into the tray, for example, Windows Installer.
- On the left side of the program, select the “Disk Image” option and the “Create Image” sub-item.
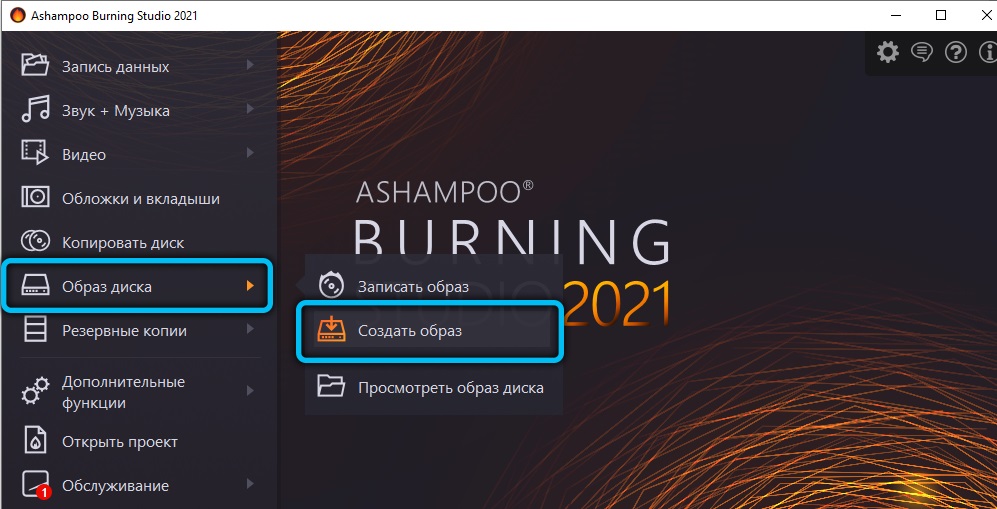
- The software will detect the device itself and suggest it.
- The next step is to select parameters. Usually they are indicated for a specific task, depending on what the image will be used for.
- Now click “Save” and specify where exactly – you can drop it on the “Desktop” for now.
- Next, change the disk to a blank one.
- In the program, select the “Disk Image” item again, just now click on the “Burn Image” sub-item.
- This will open a search menu for the file you just created – select it and start recording.
In this way, you can also extract the contents of the disk while preserving the formatting, in order to then transfer everything to a USB flash drive or other media.
How to burn a disc
Ashampoo allows you to burn not only the bootable discs that you need most often, but also music, multimedia or archive discs. At the moment, due to the appearance of flash drives, HDD and cloud storage, ordinary laser disks have almost lost their relevance, but some still use them.
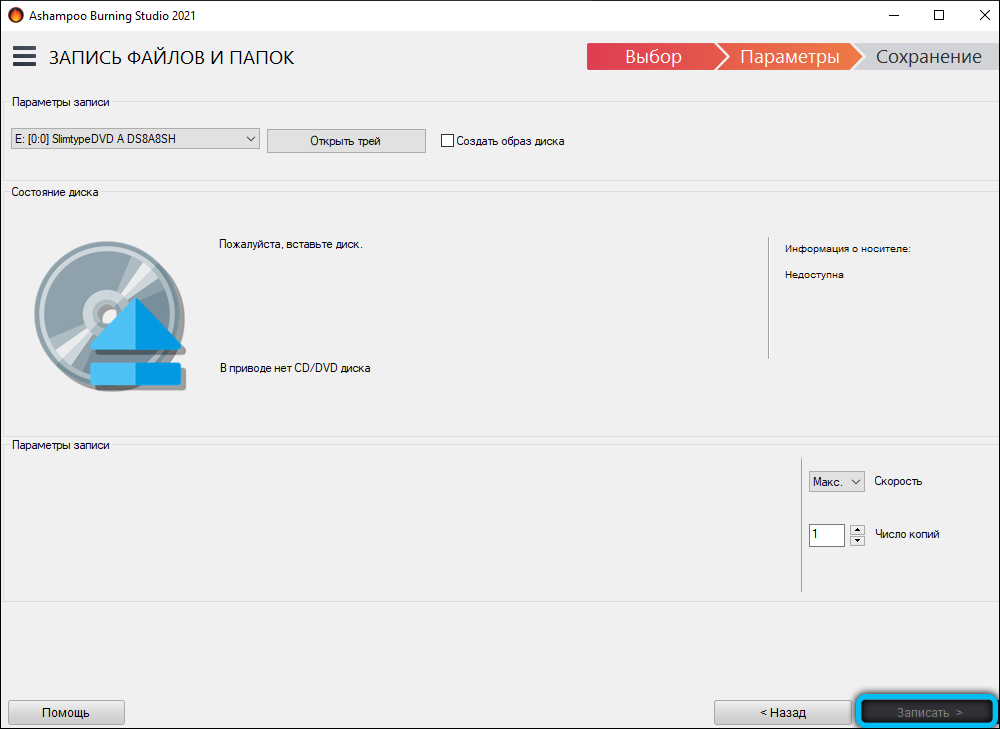
Let’s see how to record. Let’s start with the usual folders, pictures and documents:
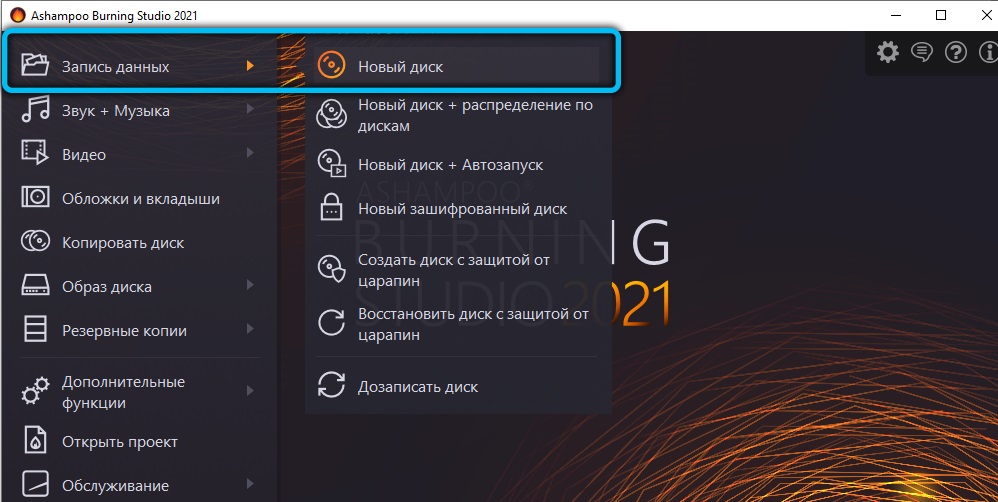
- In the window on the left, click “Write Data” – “New Disk”.
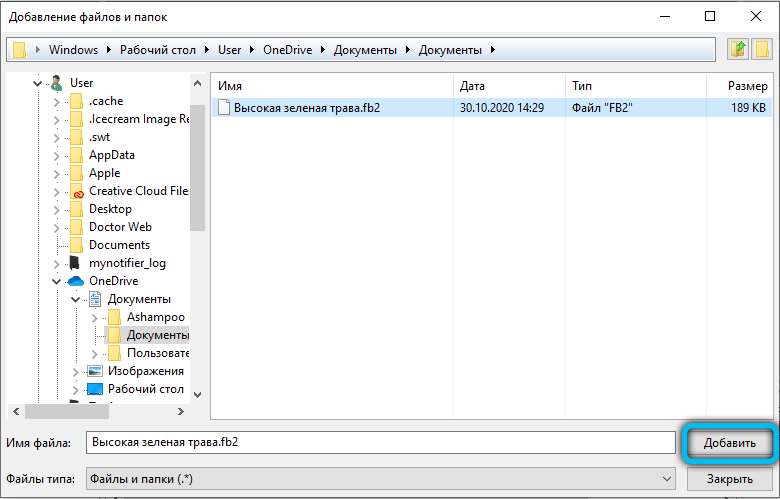
- Select the required documents and click “Record”.

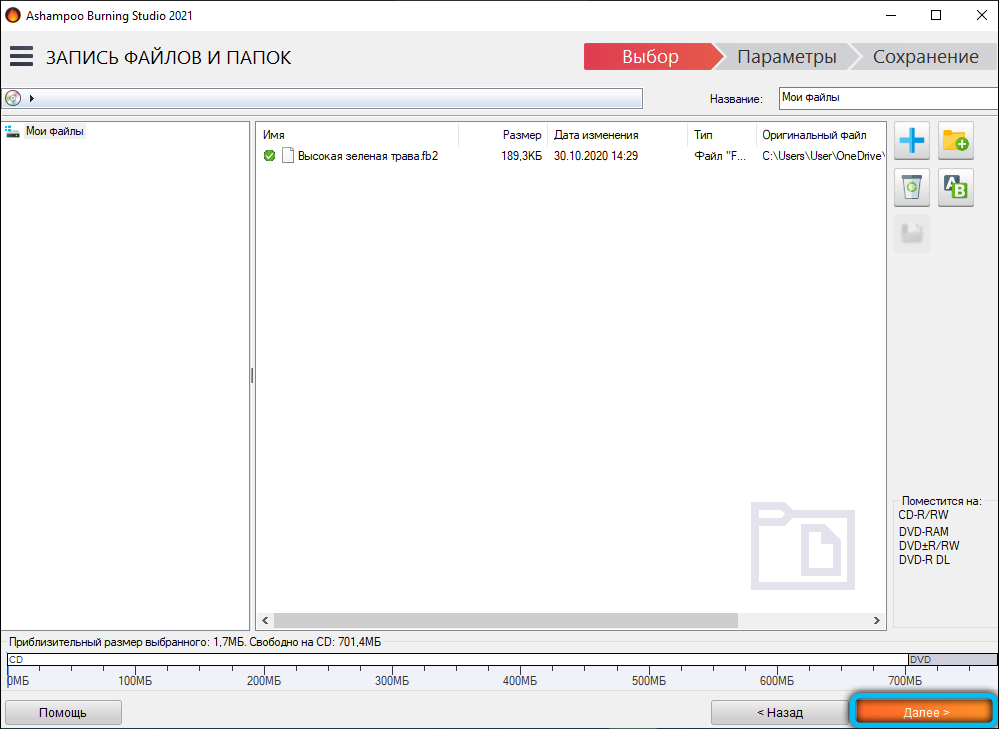
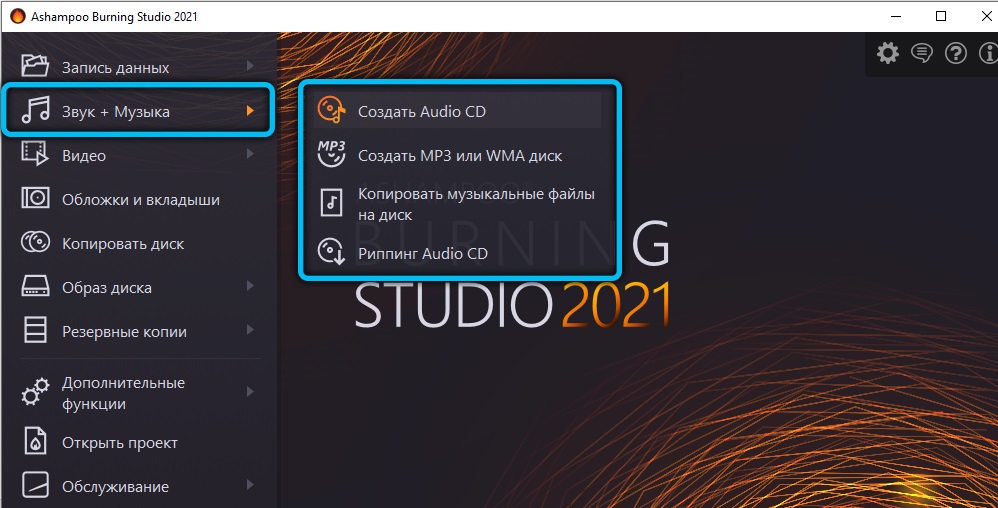
For music, there is a separate item of the same name. Click on it and then:
- Select format: CD, MP3, WMA.
- On the right, click the blue plus sign to add tracks.
- If necessary, request autorun so that any radio tape recorder can read the files sorted into folders.
- Confirm the entry.
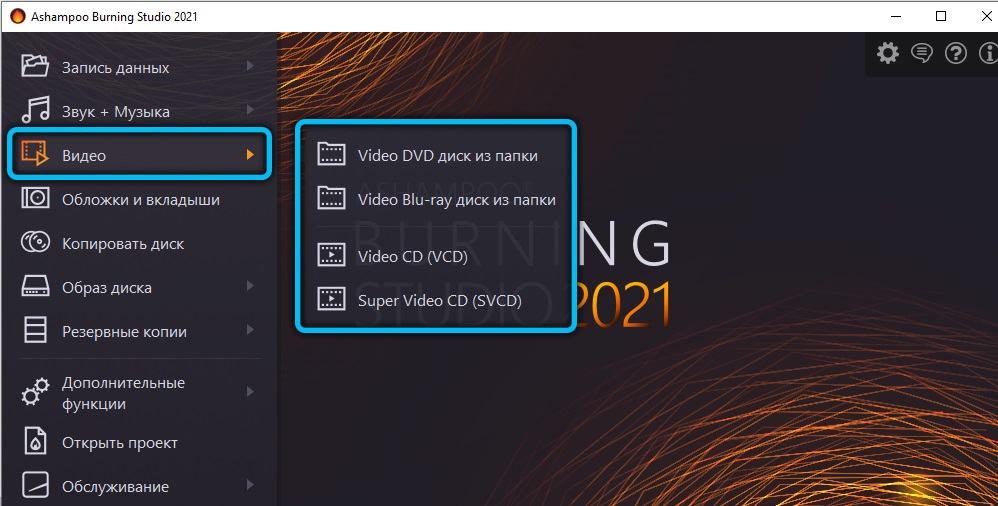
Video discs are recorded using the corresponding option:
- Choose a format.
- Add the file from another drive or PC.
- Click Record.
The slides are also recorded in this way.
Don’t forget the important:
- Read the information about the media first and see how many gigabytes it can hold. Be sure to correlate this data with the weight of the folder that you plan to send there.
- Keep in mind that by choosing a disc without rewrite function, you will not be able to add more information there or replace one content with another.
How to add data to disk
If the carrier itself allows it, then it is very easy to do this:
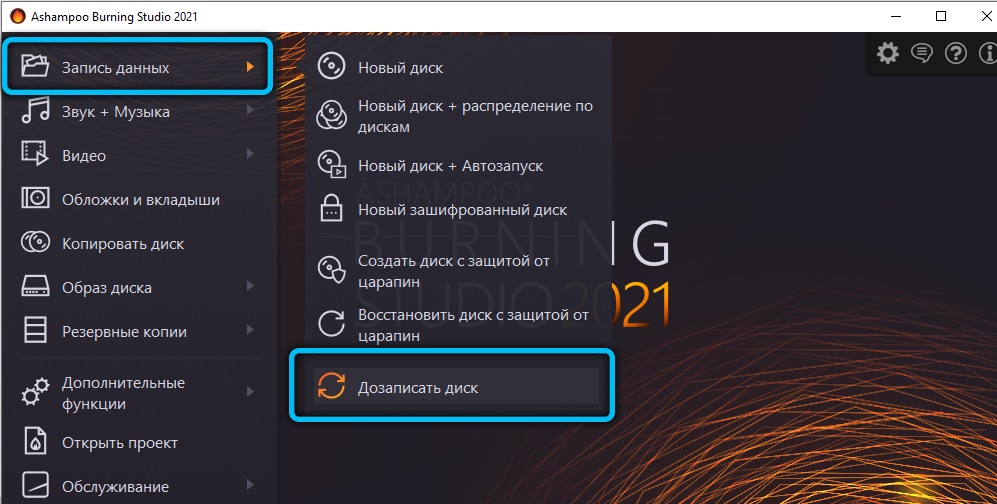
- Click “Burn Data” – “Burn Disc”.
- Specify additional files.
- Wait for the information to update.
Even at the stage of buying a disc, it is better to stop at the media marked RW. It means that files can be erased and edited.
Removing information from a disk
And this will not be difficult either:
- Click “Advanced Features” – “Erase Disk”.
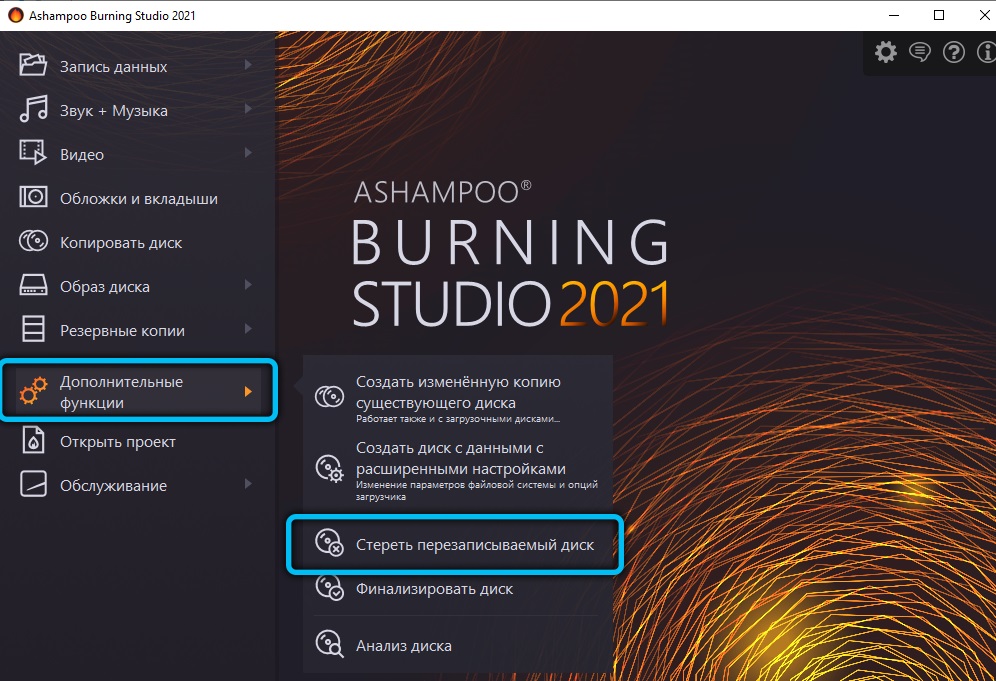
- Wait for the completion notification.
After that, all the data will disappear, space will be freed up on the medium, and it can be taken up by something else.
Advantages and disadvantages of the program
Of course, Ashampoo has a lot of competitors, so the developers did their best to make their product the most attractive. Undoubtedly, the strengths of the software are:
- Simple menu with clear design and tips.
- Rich list of languages and good translation into Russian.
- All the necessary set of tools and functions. Even professionals will find the program easy to use.
- Hints along the way of recording, eliminating annoying mistakes. If a beginner does not understand which format to choose, Ashampoo will explain to him what is being used and for what purpose.
- Excellent interaction with all versions of Windows, which is exactly the Achilles heel of other similar programs.
- You can get the official free version with all the basic options.
There are not so many shortcomings:
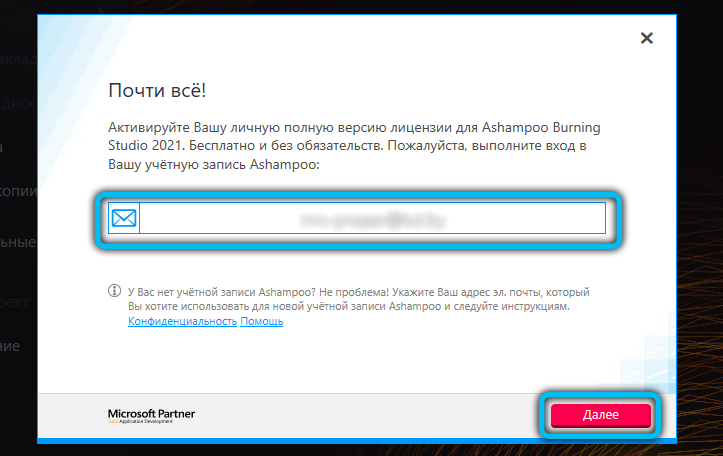
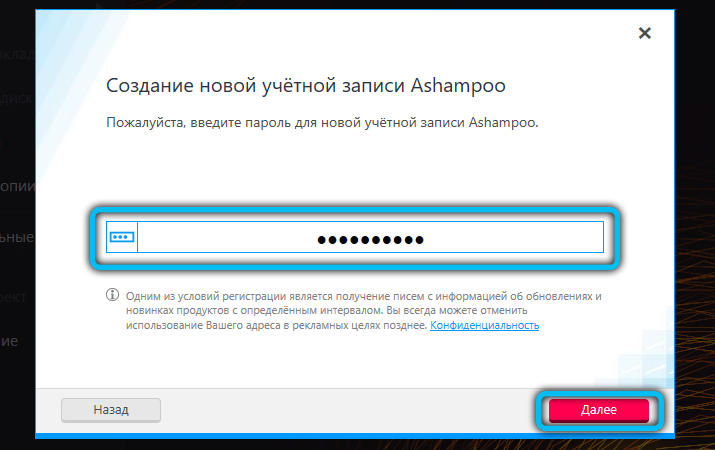
- After installing and launching Ashampoo, a window pops up asking you to specify your email, and then you need to confirm it. From now on, e-mails will regularly receive letters about promotions, news, offers, etc.
- The software is resource intensive and CPU intensive (you will hear the PC buzzing wildly during recording). Sometimes the process breaks down due to the fact that the computer’s power is not enough.
Have you ever used Ashampoo? Write in the comments if you like the program and how much better / worse than similar ones, in your opinion.