Since the Chromecast has been launched on the market, it has undoubtedly become a real success, but the truth is that even in some countries where this gadget has not yet been officially distributed by Google, users interested in This type of device continues to be reluctant to buy this dongle due to the very high price that local merchants put on it, as opposed to the barely US $ 35 that it is worth in the markets where it is officially distributed.
Of course, as always happens in the Android world, there are different alternatives that allow us to get closer to the functionalities that these new equipment provide through a device that we already have at home. And this is where the CheapCast application comes into the equation, of which we will precisely take advantage of to get some of the Chromecast features.
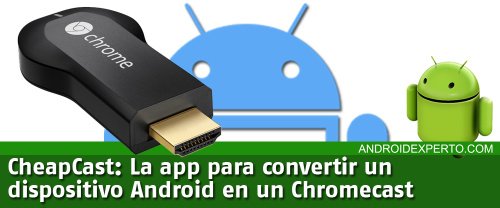
Surely we will have available an old smartphone or tablet that has already fallen into disuse and we store it in a forgotten drawer in our house, until we find a buyer for this equipment. Well, if so, we can dust it off and take it out of sale, and take advantage of its functionalities to turn this forgotten smartphone or tablet into a true Chromecast.
One of the great advantages of CheapCast is that it allows almost any Android device to work as a Chromecast, and it gives us the possibility of playing content on our television using any other Android device that we have in use, since both teams are linked without problems.
Of course, in order to carry out this operation successfully, the Android device that will become Chromecast must have an HDMI output, through which we will connect it to our high-definition television. In addition, the two Android devices used for this must both be connected to the same Wi-Fi network.
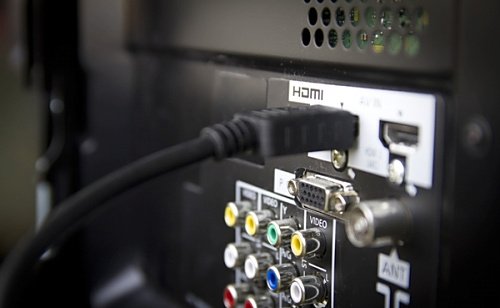
So what do we need to be able to have our Chromecast? Basically, the process requires an old unused smartphone or tablet, even one that has an old version of Android, which must have an HDMI connection to be able to connect the device to the television, which must also have this type of connector, and also another smartphone or tablet that we are currently using, so that it works as a command for the new home Chromecast that we have put into operation. And as we mentioned, both the old and the current device must be connected to our Wi-Fi network.
Steps to use CheapCast
Here are the steps you will have to follow in order to put into operation the interesting options that CheapCast offers.
Step 1: In principle, we connect the Android device that we have turned out to use as our HDTV receiver to the television, that is, through the HDMI ports, of course with a cable with connectors of this type.
Step 2: Then we must download and install the CheapCast application on the Android device that has been connected to the TV. You can download the app at this link.
Step 3: Once the app is installed, we execute it and within the configuration we go to where it says “Friendly Name”. A dialog box will be displayed that will allow us to choose the name we want to give the device in question, in which many choose to choose “Chromecast” since the function of the tool is similar to that of the dongle.
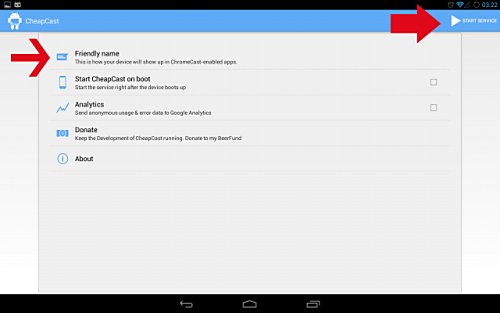
Step 4: It is convenient to also configure the receiving device so that every time it is turned on, the CheapCast application runs automatically, although of course, this is to the liking of each user. To configure it in this way, we must check the box for the option “Start CheapCast on Boot”.
Step 5: We are almost ready to enjoy our home Chromecast. What we will have to do now is to start CheapCast, by pressing the button in the upper right corner, where it says “Start Service”.
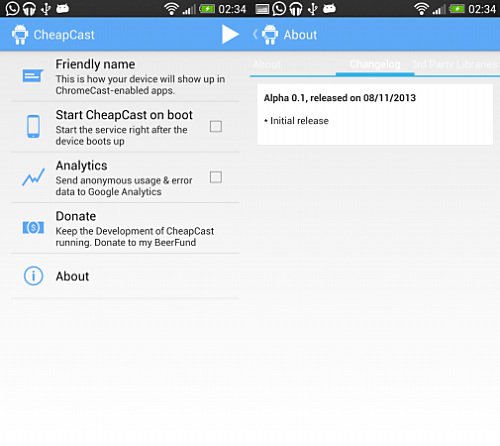
Step 6: Now it is time to configure the device that we are going to use as the remote control of the receiving device, that is, to send content. We then take the Android smartphone or tablet that we will use as a command and download and install the official Chromecast application through Google Play, which we will find at this link.
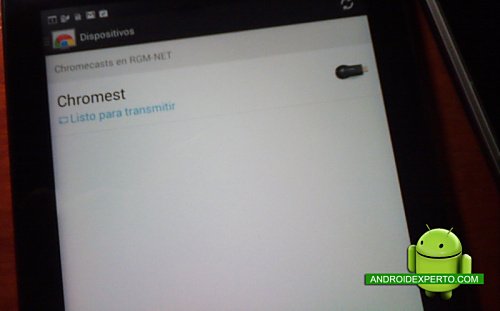
Step 7: Once the tool is installed, we run it and it will automatically explore our available Chromecast, which in this case will be the receiving smartphone or tablet with CheapCast. We will notice that said device will appear listed, and we will have to click on it, and then follow the instructions that will allow us to communicate both teams.
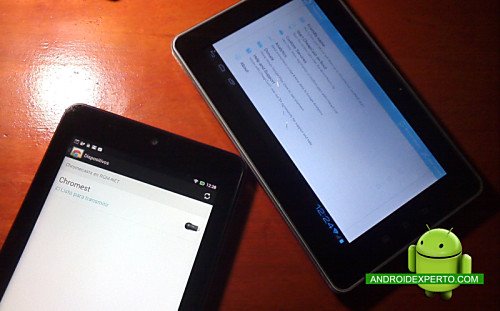
From here we can begin to enjoy all the content we want from our Android device, through our television screen.
Some considerations
As we have seen in this article, the truth is that creating a homemade Chromecast with the use of CheapCast is extremely easy, but of course we must bear in mind that they are not exactly the same.
In principle, it is important to mention that the true Chromecast works with both Android devices and PCs through the Chrome browser add-on, which you can find at this link, while the CheapCast app only works on Android devices.
On the other hand, it must also be taken into account that CheapCast is a tool that is still in beta version , which means that it does not work on all Android devices and that although it works with services such as YouTube and Google Play Music, the truth is that this is not the case with other services.
In addition, while CheapCast allows an Android device to be practically converted into a true Chromecast, the truth is that it is not as functional, and of course, it provides a better user experience with the latter.
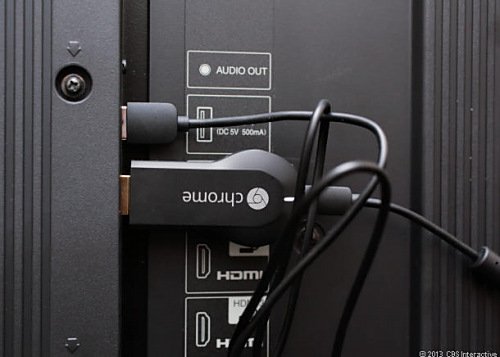
If we are honest, the truth is that ultimately everything comes down to ease of use, and in this sense Chromecast is plug-and-play, that is, we only need to connect it to the TV to enjoy its advantages, while using a CheapCast Android smartphone or tablet to be converted into a receiver requires a bit more work, plus the need to use two Android devices for it to be enjoyed.
In general, everything depends on the needs of each user, but of course while we wait to buy a Chromecast, we can well use that old Android device to turn our television into a true multimedia center, and enjoy from there the advantages of have internet connectivity.