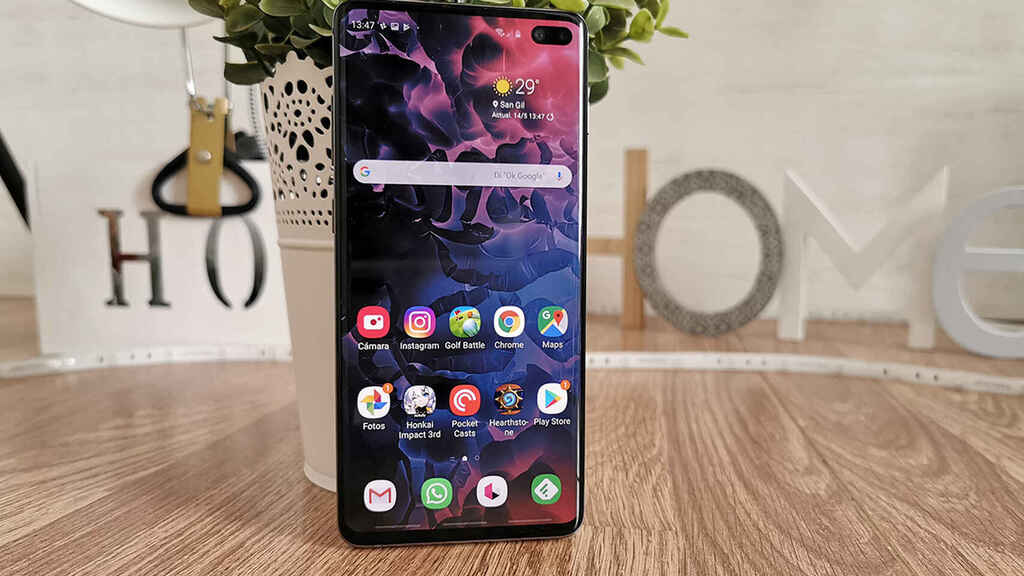
Do you see the icons and other elements too big? Or maybe too small? We teach you how to customize the size of your Android screen.
The screen, a vital component for any smartphone, and the first one we see we just have in hand. Fragile, colorful, huge with the latest trends in the notch and diagonal enlargement… The screen is so important that it is also the most customizable element. Because we do not all see the same or want to show the mobile in the same way.
The diagonal of the screen determines its surface according to the ratio you have, but more factors influence how the elements of the panel are seen. And of course, depending on how these factors are, the icons, letters, and interface of the phone will be seen larger or smaller. Luckily, the size can always be modified by software so that it adapts to our tastes or requirements.
Do you want to see the elements on your screen larger? Or on the contrary, make its size smaller? Next, I will explain the different ways to achieve it.
Adjust the size of the screen content to suit your needs
Android allows the modification of the screen size from the system options. It is such a simple process that you will adapt the content of the phone in a few seconds. It is done like this:
- Enter your Android settings and go to « Display «.
- Go to the options to adjust the screen size or content.
- Adjust the selector to the size you want: to the left smaller; clockwise larger. All items on the screen will be graded accordingly.
- Additionally, you can change the font size. The setting is usually within the same size settings as the content or in a special section, font size. The selector is similar.
This is the standard way to adapt the screen size, but you may not get exactly the dimensions you need. As happened to me recently with the Samsung Galaxy A70, even at the smallest available size I was still seeing the content too large. But there is a way to force the pixel density to decrease or increase the icons and other elements.
Adjust the screen size by forcing its density from the developer options
With the following setting, you may have problems with the display of the screen, so you must be very careful. Still, there should be no problems if you follow the instructions.
- Go to your Android settings and look for the system options.
- Enter the phone information.
- Click 10 times on « Build number «. You will see that the developer options are activated (you may need to enter the phone password).
- Go into the developer options and look for the setting marked ” Smallest width “. This is the pixel density your phone is operating at. You must write down the current number.
- To make the content on the screen bigger you just have to reduce the number of the density. In our case it is 470, so we can put it in 400, for example. Go little by little checking the result until you see the screen as you want.
- To make the screen smaller you have to do the opposite, increase the number of the density. You must go little by little until the content is properly adjusted.
- You must bear in mind that the interface, applications, and/or elements of the screen may not resize well to the density you have chosen. The only way to get it right is by doing trial/error tests.
- To return to the original density you only need to write the default value in the “Smallest width” setting. You can also go to the screen options and enter the size options.
With the above settings, you can get the screen to be to your liking in size. What do you need all something bigger? No problem. What size options do icons oversize? You can decrease it by lowering the minimum width from the developer options. The potential of Android is huge.