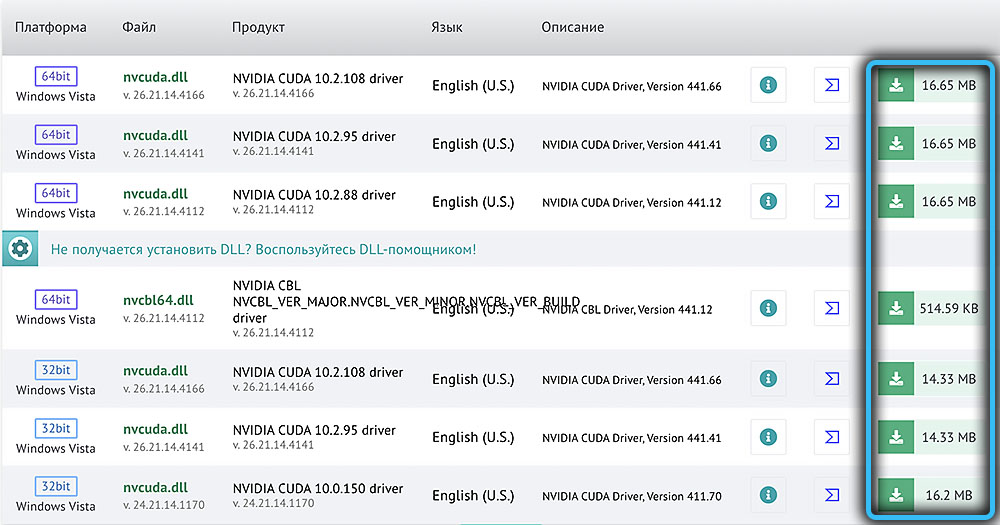
In today’s article, we will analyze one fairly common error among users of video cards from the American manufacturer Nvidia, associated with damage to the dynamic library file “nvcuda.dll”, which looks like this: “The entry point to the cuLaunchKernel_ptsz procedure was not found in the nvcuda.dll DLL library.”
Contents
Reason and solution #1 – lack of drivers or support for the right technologies
Most often, this error occurs in applications and games that require a technology developed by Nvidia called Nvidia Cuda. This technology will be available only if you have the latest driver installed, and if your video card model supports Nvidia Cuda technology.
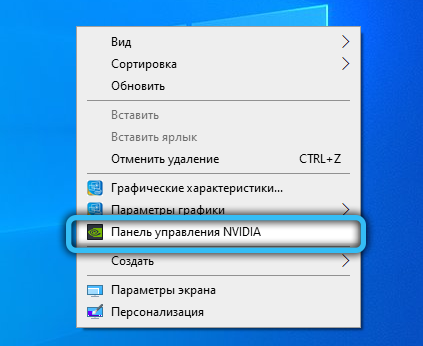
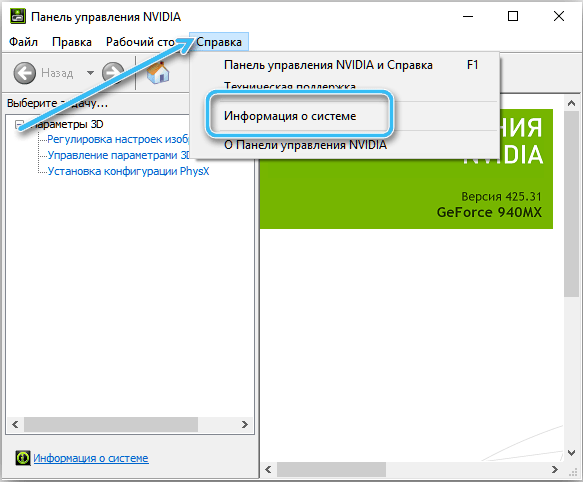
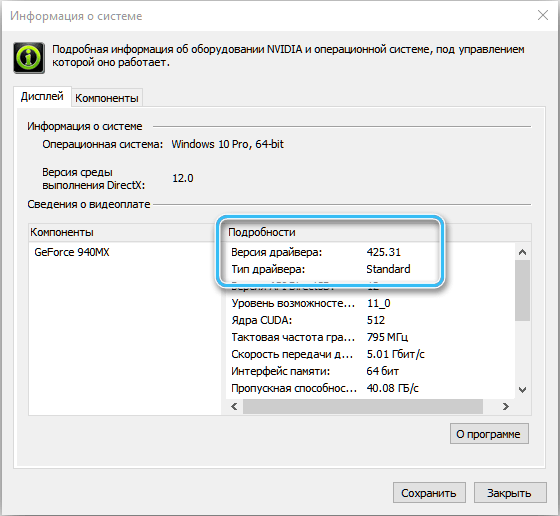
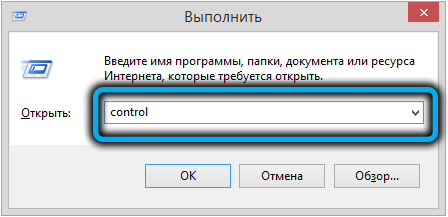
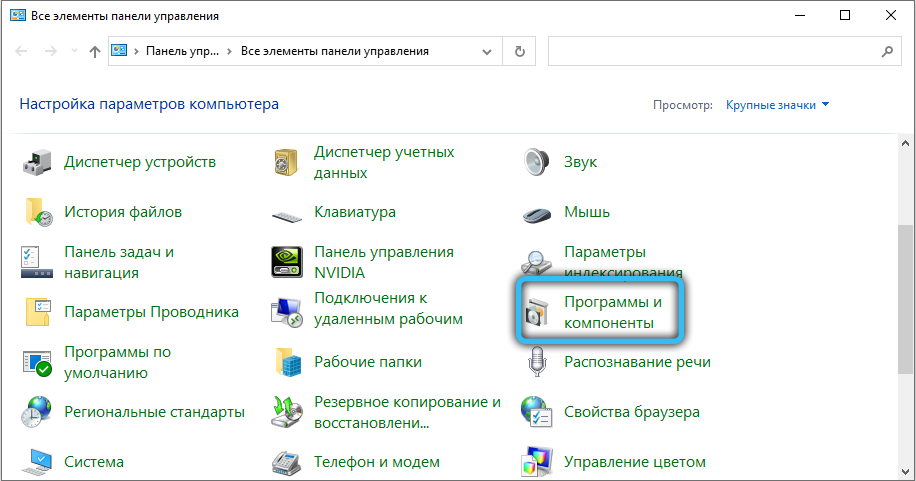
As for the availability of drivers, everything is simple. Right-click on the desktop, the Nvidia Control Panel item should appear in the context menu. You can also check in installed programs and components, because from the point of view of Windows, a driver is a regular program. Hold down the Win + R keys at the same time (the “+” symbol in this case is a keyboard shortcut symbol, you do not need to hold it down). In the window that opens, write the word “control” -> Programs and Features -> We are looking for programs related to Nvidia. If you didn’t find Nvidia Control Panel in the context menu on the desktop and in the list of programs and features, then you don’t have drivers.
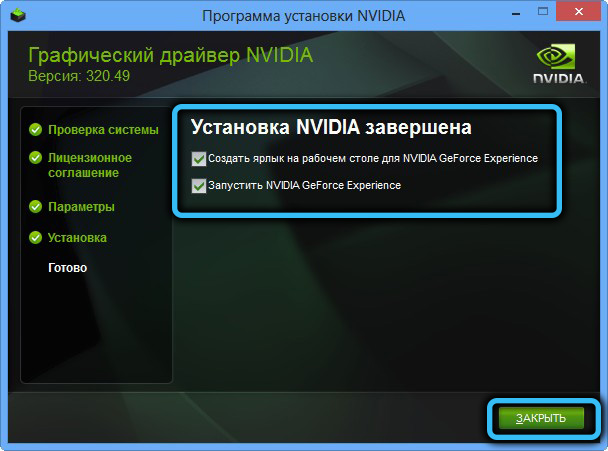
Installing drivers for the video card:
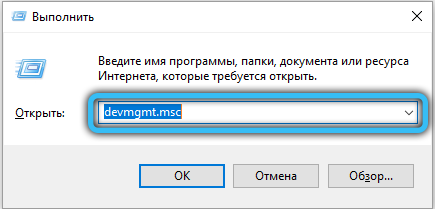
- First we need to find out the name of the video card. The easiest way to do this is to use Device Manager. Different versions of Windows have different ways to use it, but there is a universal way for all versions of Windows. Press the key combination Win + R -> devmgmt.msc.
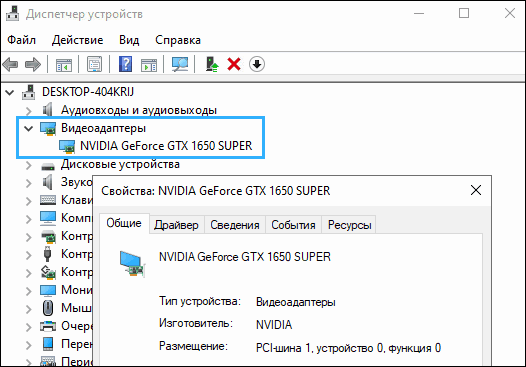
- In the list of different types of devices that opens, we find “Video adapters” and open it, here we can see the name of our video card.
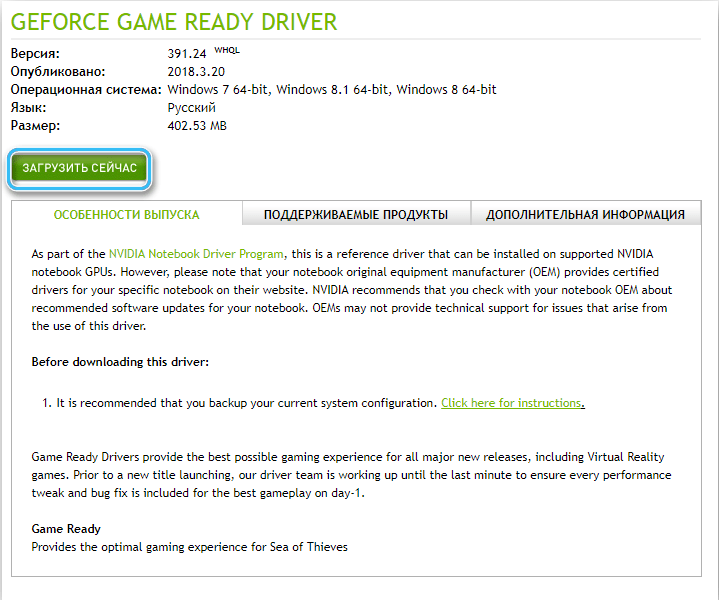
- Next, we need to visit the official Nvidia website. You can visit it at this URL – https://www.nvidia.com/download/index.aspx. We fill in all the required fields, select the language and download the latest version of the driver.
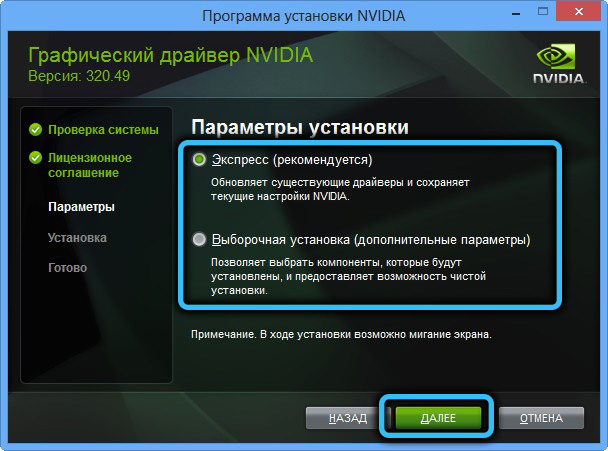
- Next, follow the instructions of the installer and restart the computer.
If you have the drivers, it may not support Nvidia Cuda technology. However, it is too early to draw conclusions, you should be convinced of this. To do this, we should turn to Google or any other search engine for help, this can be done using the most banal query “<video card model> support CUDA”, (English) – “does <video card model> support CUDA?”. However, it should be mentioned that all Nvidia graphics cards from the 8000 series (2007, GeForce 8400, 8500, 8600, 8800) onwards support CUDA. This is a property of their architecture.
If your video card is not among those that support this technology, then, alas, further steps are meaningless.
Cause and solution # 2 – damage to dll files and system integrity
Damage to dll files and system integrity is also a fairly common cause, especially if you are using unofficial builds of Windows rather from enthusiasts. The integrity of the system is sometimes violated for various reasons, in the case of Windows, this case is quite common. You can verify the integrity of your system, as well as get rid of a number of problems associated with the absence of any system components. The system utility SFC (System File Checker) will help you with this, and you can interact with it only through the command line interface (cmd) or through Powershell. In order to use it, you will need administrator rights.
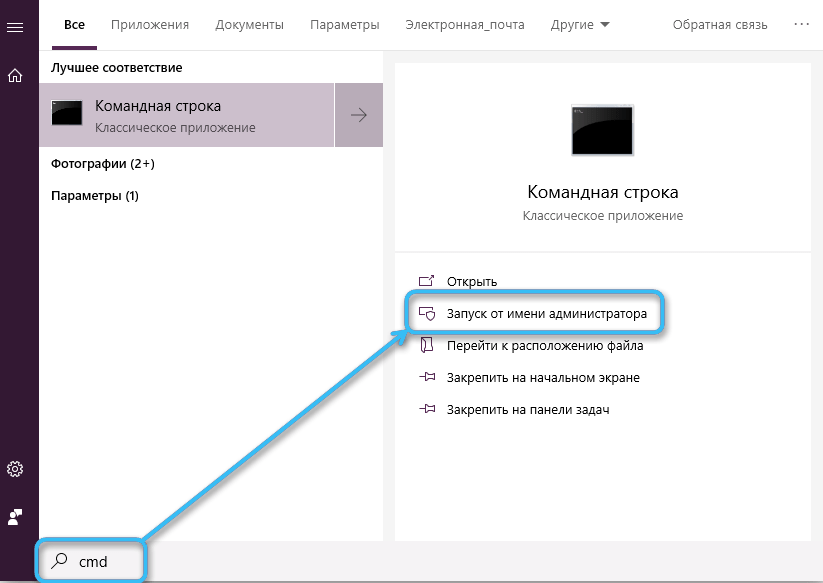
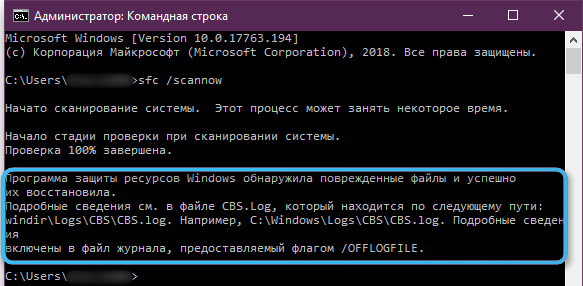
Click on the Start menu -> in the search we write “Command Prompt” -> right-click on this item and click “Run as administrator”. We enter the password, if required, and first we write “sfc” and the second argument we write “/scannow”, in general, the command should look like this “sfc /scannow”. Next, press Enter (enter) and wait.

If you receive a message that the system integrity is 100%, it means that everything is fine and the system components and libraries are normal.
If sfc reports that the system has detected damaged components and successfully restored them, then we have two news for you – bad and good. The first, bad one, is that corrupted components have been found in your system. Secondly, the good one is that the system successfully restored them, and now you should reboot your system and try running the desired program again.
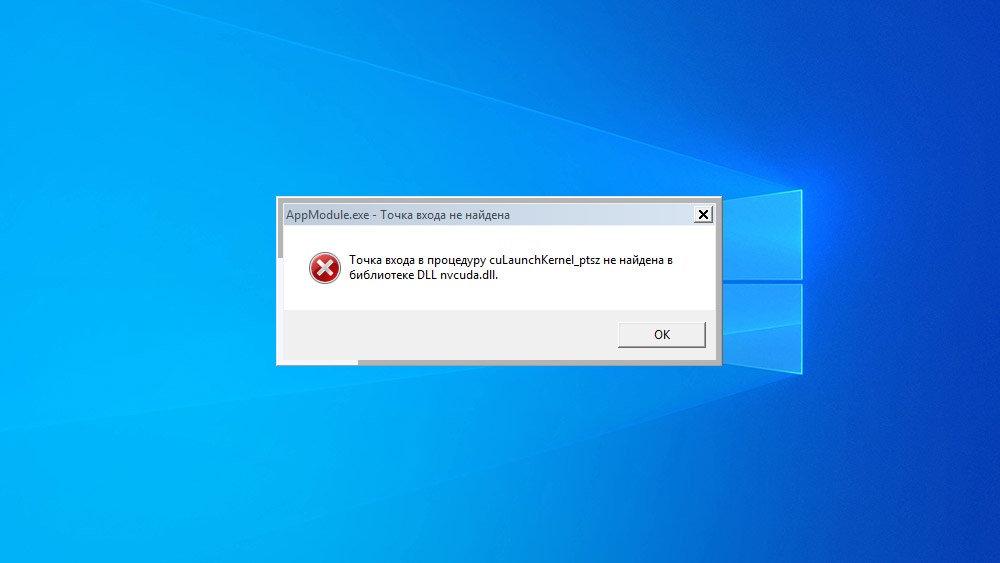
Solution #3 – download the dll file yourself
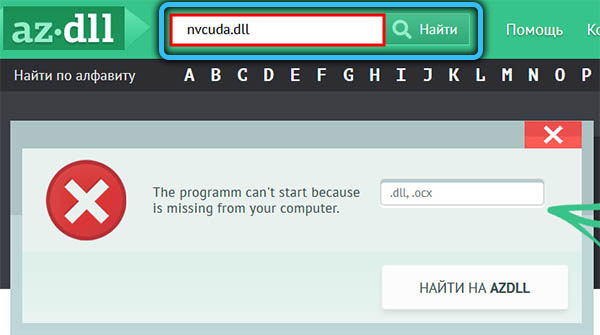
This method should be used in case of emergency, because it is not always safe and effective, since we will have to download this file from third-party sources, which is not always safe, and it is not a fact that the dll file you need will be the right version. However, you can try if the source is safe. We do the following:
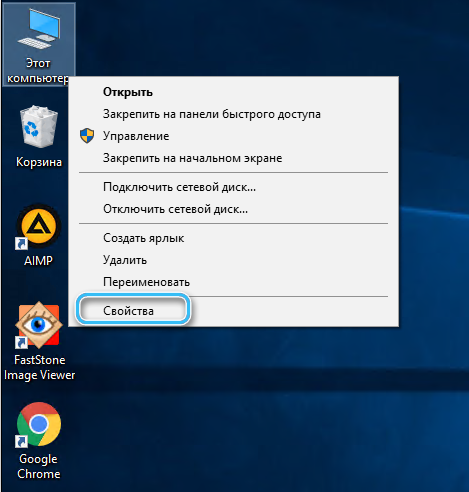
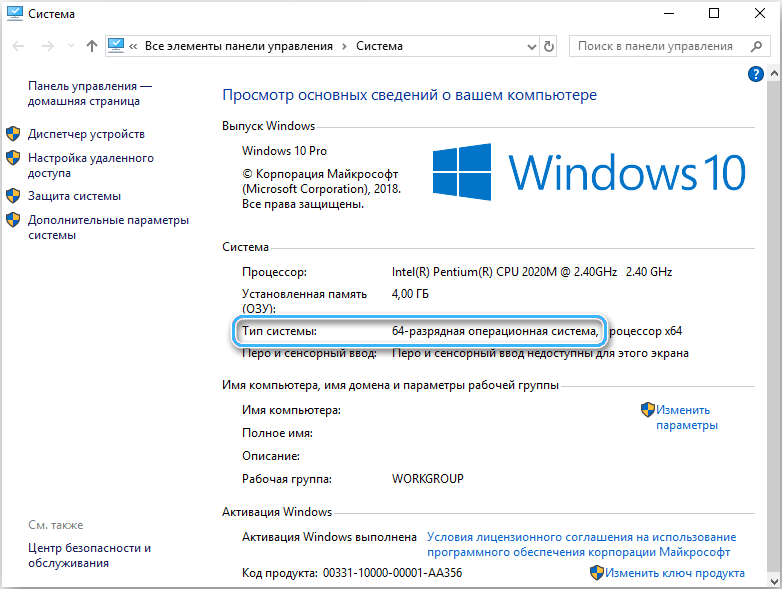
- Let’s find out the bitness of our operating system. My (This) computer -> Right-click on it -> Properties -> And here we can see the bit depth of our OS (32-bit operating system or 64-bit operating system).
- We open a browser convenient for us and go to the site – https://www.dll.ru. We select the latest version dll-file available for the bitness of your OS and download it. The resulting file will most likely be downloaded in an archive, if so, then unzip it to a place convenient for you, then go to the folder with the desired program.
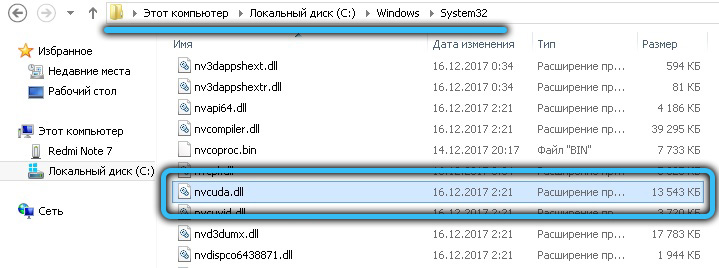
This is easiest to do if you have a shortcut to the program. Right-click on the shortcut and select “File Location” from the menu that opens. If you are in a folder whose path ends in “Start menu / Programs”, then right-click on the file to which the file manager has transferred us again. We click “File Location” and this time we find ourselves in the folder with the program, it is here that we must move the dll file we downloaded earlier. Also, for reliability, this file can also be moved to the local drive C / Windows / System32. Now we reboot the system.
Reason and Solution #4 – Blocking Necessary Files by Antivirus
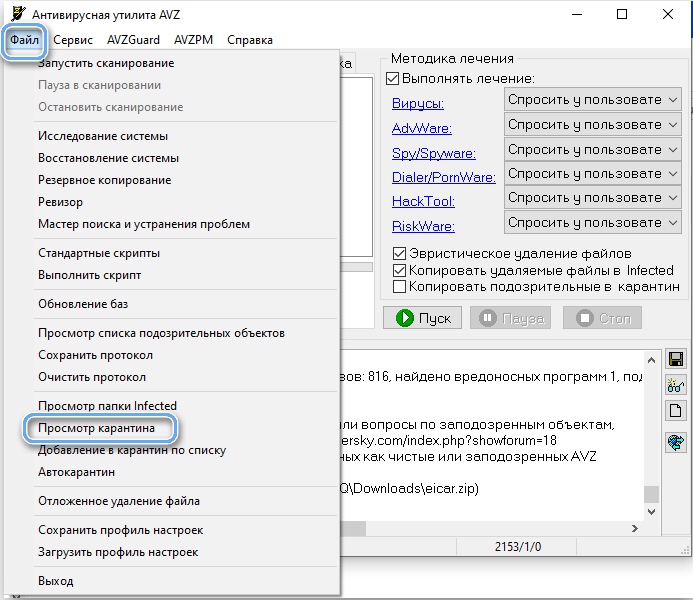
It takes a very long time to write instructions for each antivirus, however, each antivirus has a “Quarantine”. This is the place where files are stored that are “neutralized by the antivirus”, but have not yet been deleted, it is possible that among them you will find the “nvcoda.dll” you need. In the case of your antivirus, you can get quarantined by entering the appropriate query into any search engine.
Summarizing
We hope that this article helped you solve the problem and gave you a complete understanding of what this error is and why it can occur.
If you notice any shortcomings or errors, leave comments! Your opinion is very important to us and may be useful for other readers of the article as well!
