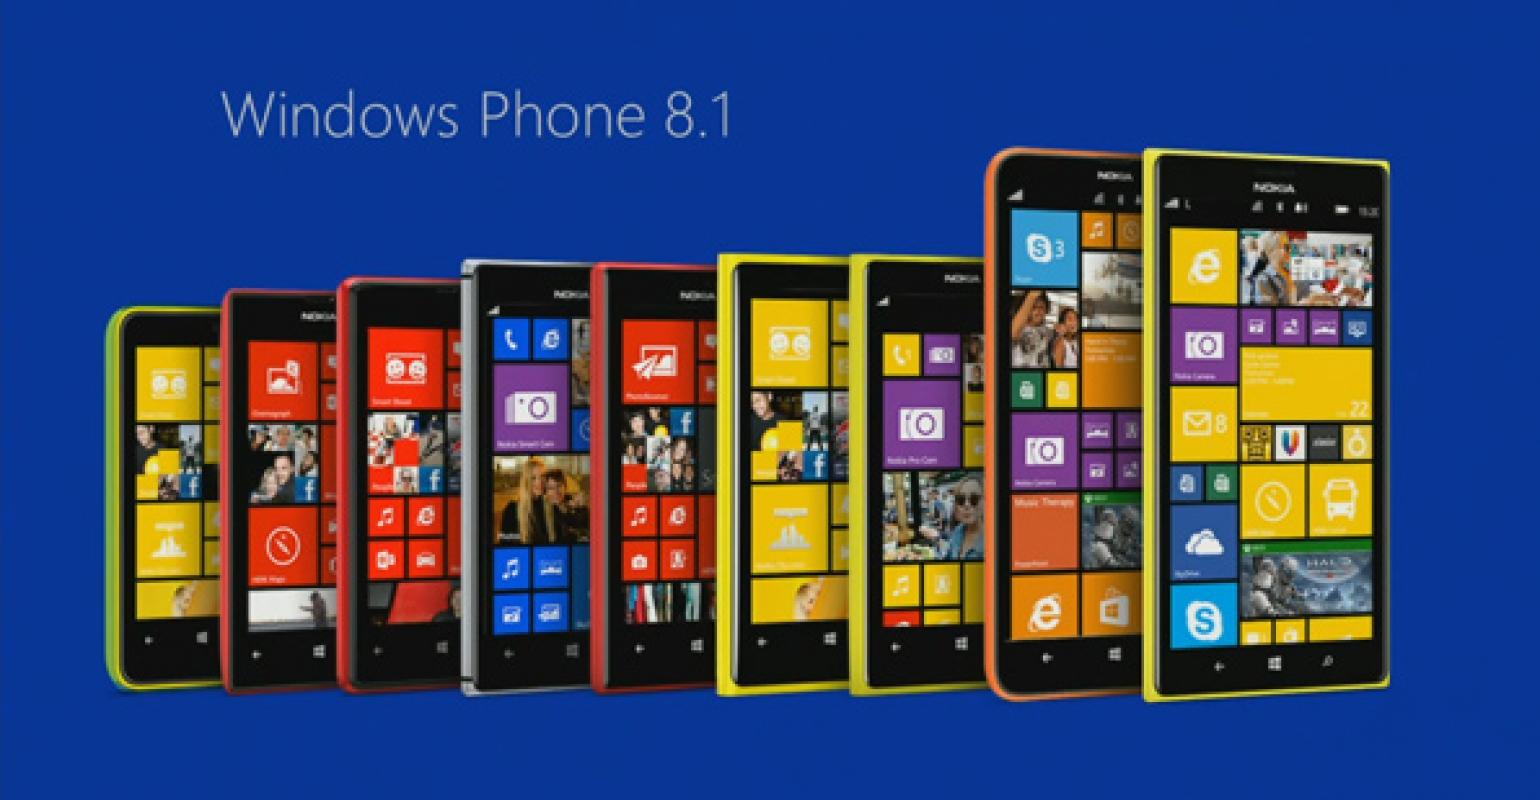
There are moments when you want to take a screenshot of your Windows Phone 8 screen. But how exactly does it work? Microsoft also thought about it and solved it just like Apple. In this article we will introduce you to the whole thing in more detail.
First of all, it should be said that you can take a screenshot of the screen with all models with Windows Phone 8 using this guide. This applies to the currently available Nokia Lumia 920 and 820 models, the Windows Phone 8S, Samsung Ativ S and the HTC Windows Phone 8X.
Take a screenshot of the screen using Windows Phone 8
First of all, of course we call up the screen of which we want to take a screenshot. Now you first press the Windows key, which is usually located under the display, and then the On / Off key (i.e. the key on the Windows Phone 8 device with which the device is switched on or off). Of course, you should do the whole thing relatively quickly, after all, you don’t want the language support of Windows Phone 8.
So again briefly: press Windows key + On / Off key. Now a kind of photo noise should come and the screen will also be briefly illuminated. This tells us that the screenshot was taken from the screen. So Windows Phone 8 has a very simple function to create the pictures.
Transfer Windows Phone 8 screenshot
Now of course we want to know how we get this screenshot. There are several ways to do this. First, we plug in our micro USB cable and connect the whole thing to our computer. Now we find a “Windows Phone” device in the workplace.This could be of interest to you Our smartphone recommendations for Christmas 2019 – Find out more!
There we usually see 5 folders, i.e. Documents, Music, Pictures, Ringtones and Videos. We now look in the Pictures folder. There we will find a screenshots folder. We click on this and now see all our pictures that we created with this function. Now we only need to copy it from our Windows Phone 8 device to our computer and can now use it.
However, there is another method for transferring the screenshots from the Windows Phone 8 device, where we do not have to connect a cable.
To do this, we go to our main screen and should find the “Photos” tile somewhere. The first point says “Own recordings”, “Albums” and “Date”. We now have to click on “Albums”. There, in my case below, we see the item screenshots. All screen shots of the screen are now displayed there. If we click on an image, we see the three white dots in the lower right. From there we go to “Send …” and can use various methods to get the whole thing to the desired point.
We hope that this tutorial or guide has helped you take screenshots with Windows Phone 8. If you have any questions, just ask them in the comments.

