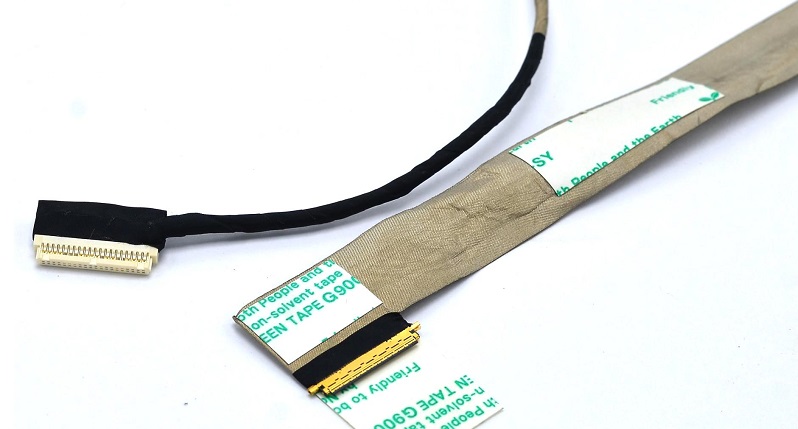
Replacing the matrix cable on a laptop may be necessary if the image does not appear or has some defects – stripes, flickering and many others. This work is not difficult, and it is quite possible to do it yourself with due attention and accuracy. This ribbon cable is a series of shielded wires that connect the motherboard to the display. It is through it that the image is transmitted to the laptop screen. It runs in the place where the cover and the computer case are attached, so over time, due to the many folds when opening and closing the laptop, some wiring may break. Sometimes this happens due to a factory defect or poor quality of the wire. In addition to the disappearance of the picture on the screen or its deterioration, there may be a danger when broken wires with damaged insulation are closed.Because of this, a rather high supply voltage through the signal wires can get to very sensitive components of the motherboard or matrix, and disable them.

Signs of damage to the laptop matrix cable
It is impossible to determine unambiguously by external signs that it is precisely the replacement of the screen loop on the laptop that is required. After all, similar signs can be in case of damage to the matrix, in case of improper operation of the video system, and even due to software failures. Therefore, it is useful first to identify the problem. The software part and the video system can be removed from suspicion by simply connecting the computer to a monitor or TV via an HDMI cable. If the image is normal, then there are only two options – a matrix and a loop. Of these, the latter is the cheapest, and the screen can cost as much as half a laptop. The main signs of a malfunction of this particular wire are as follows:
- The image may sometimes disappear and then reappear. Sometimes it flickers constantly or intermittently.
- Stripes appear in different places on the screen, which can change their position.
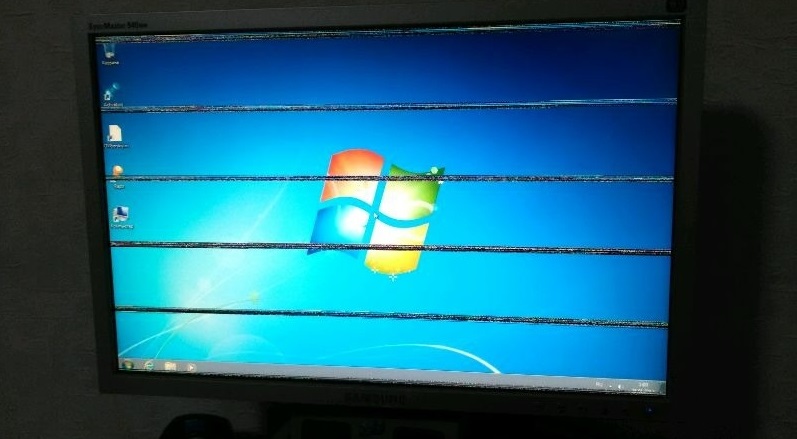
- Reddish ripples appear.
- Vertical stripes of various types that can change their color in unpredictable ways.
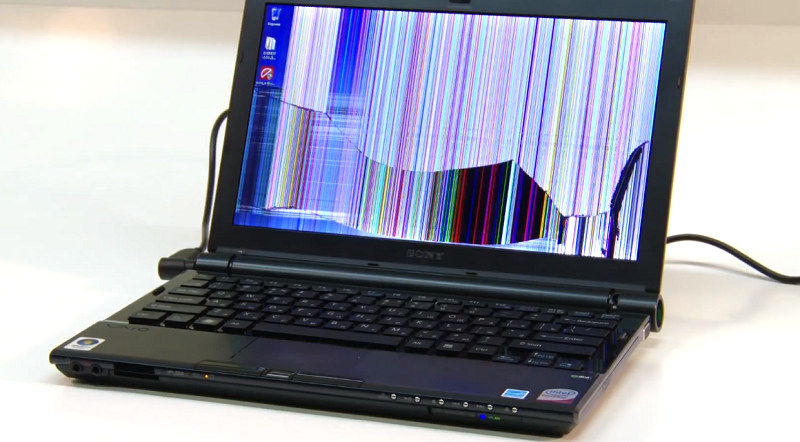
In contrast, image defects with a faulty matrix remain constant – the stripes do not change their appearance and location, and the damaged areas can gradually increase, but do not change their location. Unstable contact in the broken wire of the loop and causes constant or intermittent flickering of the picture on the screen. If contact is lost, the image may completely take on some tint or disappear altogether. Moving the lid can cause all of these changes. They can appear in different combinations. This behavior allows us to suspect a problem in the loop, and not in the matrix.
Replacing the matrix loop with your own hands
You need to know that the process of replacing the matrix cable on an Asus laptop and, for example, HP, is somewhat different, since all models have design differences and are disassembled in different ways. Therefore, we will consider this in general, without specifying what and where to unscrew. Also remember that different laptops use different cables and usually it will not work to replace them with an analog from another model – different wires, different connectors are used, and their wiring is also probably different. Therefore, you need to purchase a part exactly from the desired laptop model, or remove it from the same non-working one. By the way, buying a non-working computer of the same model sometimes turns out to be profitable = it is a good source of many expensive or rare spare parts. How to replace a ribbon cable? It is not very difficult, but soberly assess your ability to disassemble such a fragile and complex device like a laptop.
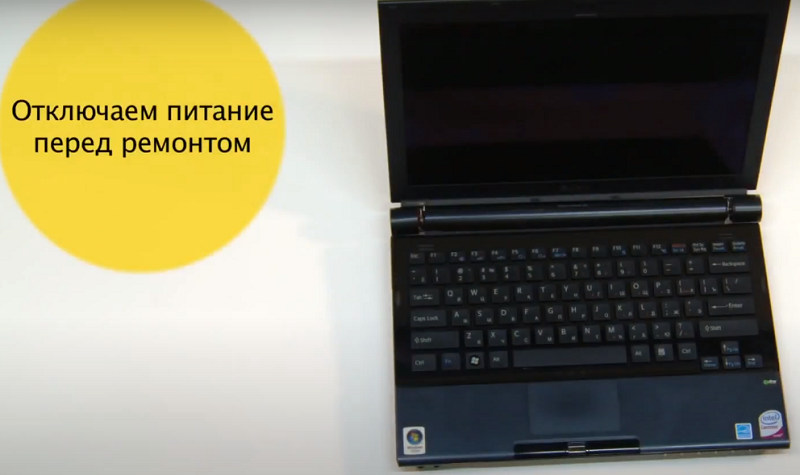
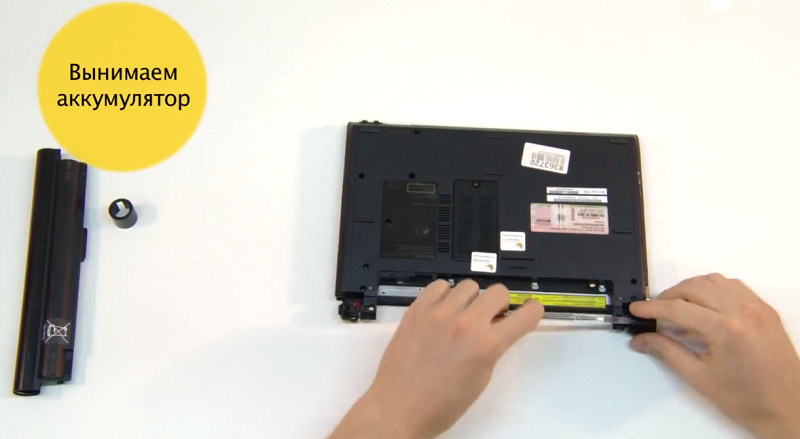
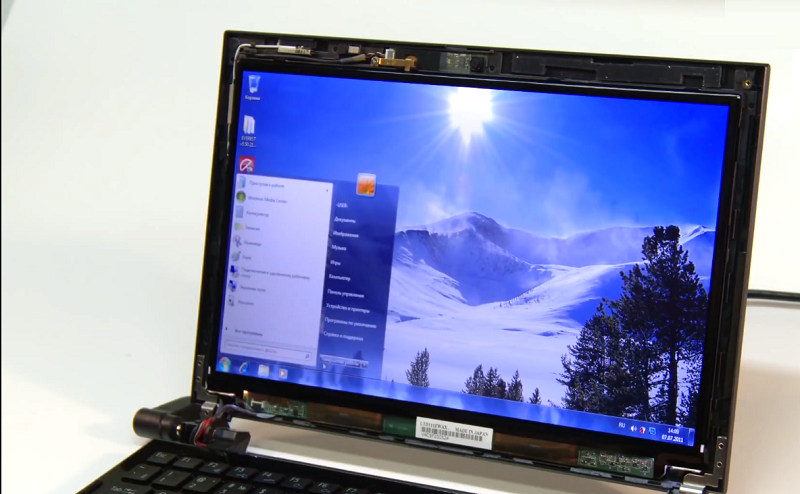
- Unscrew the bolts securing the screen frame and use a plastic spatula to unscrew all the latches around its perimeter.
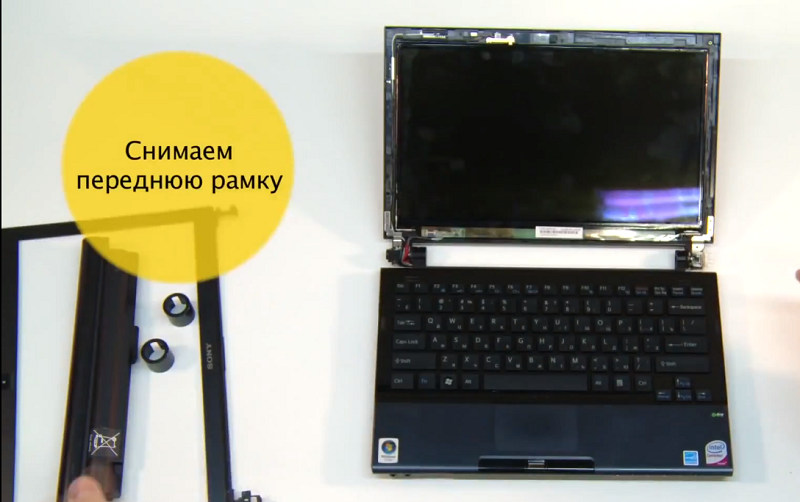
- Unscrew the bolts holding the die and lift it up. On some models it is glued on, so be careful not to permanently damage the screen.
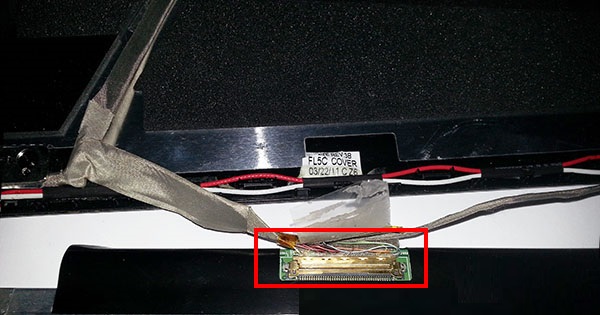
- Disconnect the ribbon cable from the matrix and attach a new one.
- Put the matrix in place, assemble the laptop cover in reverse order.
- Now you need to remove the keyboard or the top of the case to access the connector on the motherboard. This is done differently in different models.
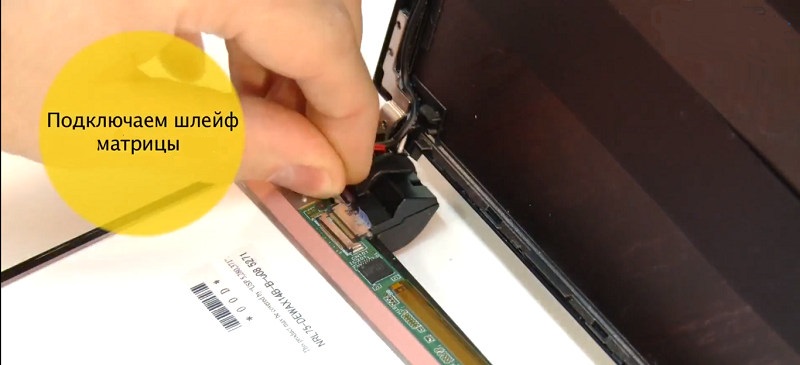
- Detach the old part and attach the new one.
Lay the new wire in the same way as the old one. If it was attached with duct tape or glued, do the same.
And since I had to open the case, it will not be superfluous at the same time to clean the cooling system from dust.