The appearance of stripes on the screen of a computer or laptop monitor is a common occurrence. The stripes can be vertical or horizontal, red, white, green, blue in color. The problem can arise for software or hardware reasons and does not always require the involvement of a specialist, so if you see red horizontal stripes on the monitor screen, do not rush to take the device to service.
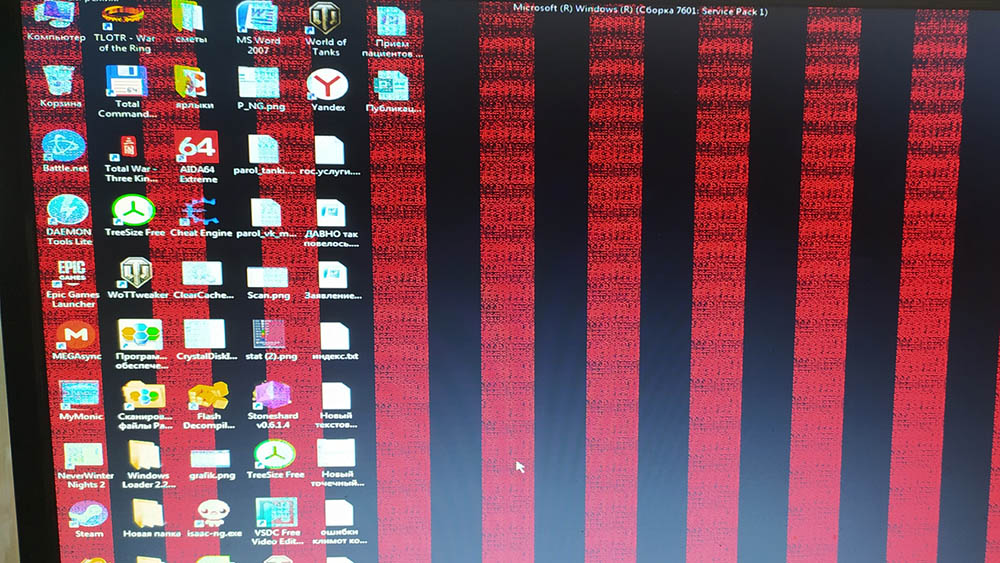
You may be able to correct the situation yourself, without resorting to repairing or replacing equipment. Let’s look at why such stripes may appear and how to deal with it.
Contents
The main causes of stripes on the screen of a laptop or PC monitor
The source of the problem may be the following factors:
- Overheat. The appearance of colored stripes on the screen, as well as a number of other problems in the operation of devices, can be caused by an increase in temperature, which often occurs due to the accumulation of dust and disruption of the normal functioning of the cooling system.
- Equipment malfunction. Red stripes on the monitor screen also occur due to problems with the video card, requiring repair or replacement of the device.
- Connection elements. For correct operation, contact must be ensured at the connection points between the devices. Problems with the laptop display cable or monitor connection cable/connector cause the presence of color stripes, and the picture may change, for example, when the connection elements are impacted.
- Outdated drivers. Damaged or outdated software causes many problems, including this phenomenon. The issue can be resolved by installing suitable new software.
- Unsupported monitor mode. Incorrect setting of some characteristics, such as the screen refresh rate, can also lead to a similar problem.
- Physical damage to the monitor screen or laptop matrix. Mechanical impact on the display can lead to the appearance of all sorts of variations: single stripes or their clusters (most often in one place), horizontal and/or vertical, in addition, black spots may appear on the image. In some cases, the cause of the malfunction is a power surge or high humidity, which can lead to noise on the screen and, as a result, multi-colored stripes.
- Network interference. If you use a regular power strip instead of a power strip, image defects may occur due to various devices being connected to it. We connect the monitor to the network separately and see if the problem goes away.
Ways to solve the problem
There are several correction options, but the solution directly depends on the cause, which is not always obvious. Based on the nature of the defects, we can assume what exactly was the source of the problem. For example, the structure of the picture (stripes, pixels and other artifacts) remains in place, including after the device is rebooted, which indicates a problem with the display, or the location changes during operation – this scenario indicates problems with the video card.
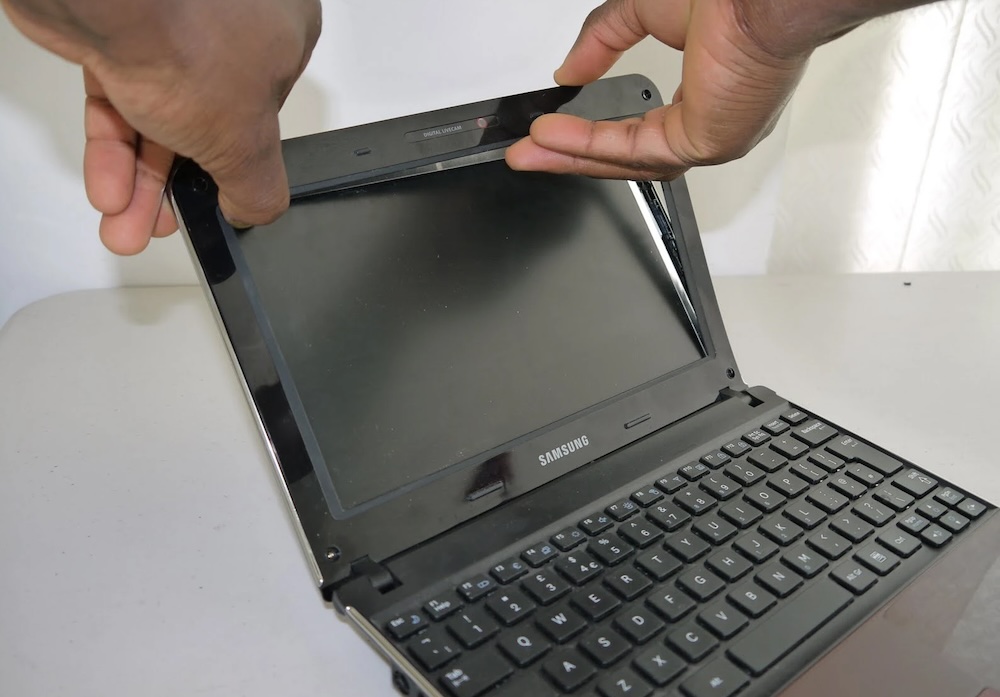
You can check whether the laptop cable is involved in the problem by opening and closing the display, as well as pressing the plastic edge of the screen in the place where the main cable passes. If the pattern changes and ripples appear, there may be problems in the connection between the matrix and the display.
Diagnostic measures will allow you to determine what the problem is or eliminate possible scenarios.
Checking connection elements
Before you begin disassembling the device, there are simpler steps that may resolve the problem. We inspect the connectors and cables for kinks and damage, check the reliability of the connection, reconnect, also try to connect the monitor to another input if available, use another port on the monitor.
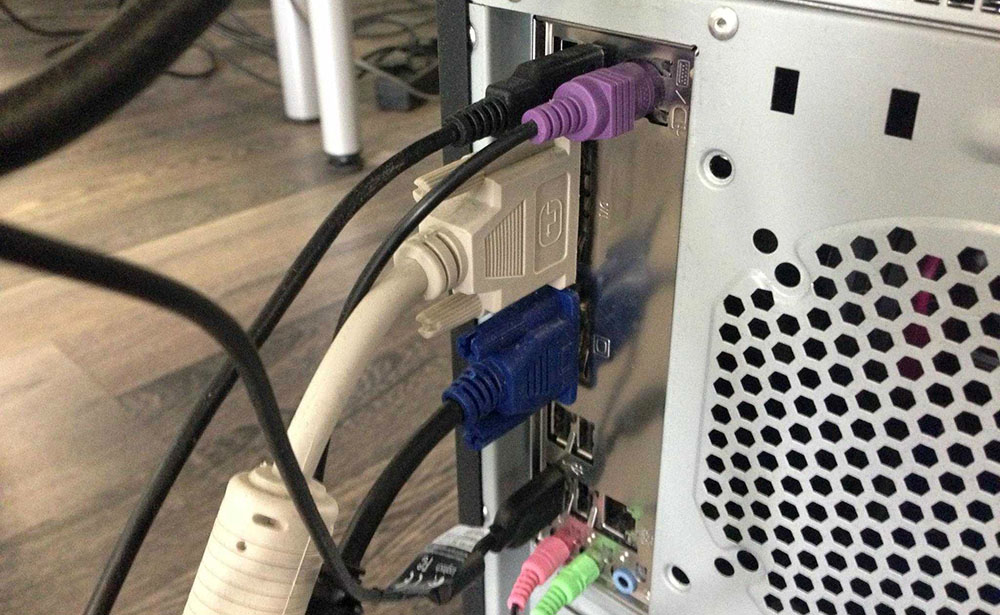
If a vertical red stripe periodically appears on the monitor screen, this most often indicates a disconnected contact, but sometimes it can also indicate combustion of components.
Setting recommended resolutions
Incorrect screen resolution settings can also cause image distortion. If this is the reason, you need to set the values recommended by the system:
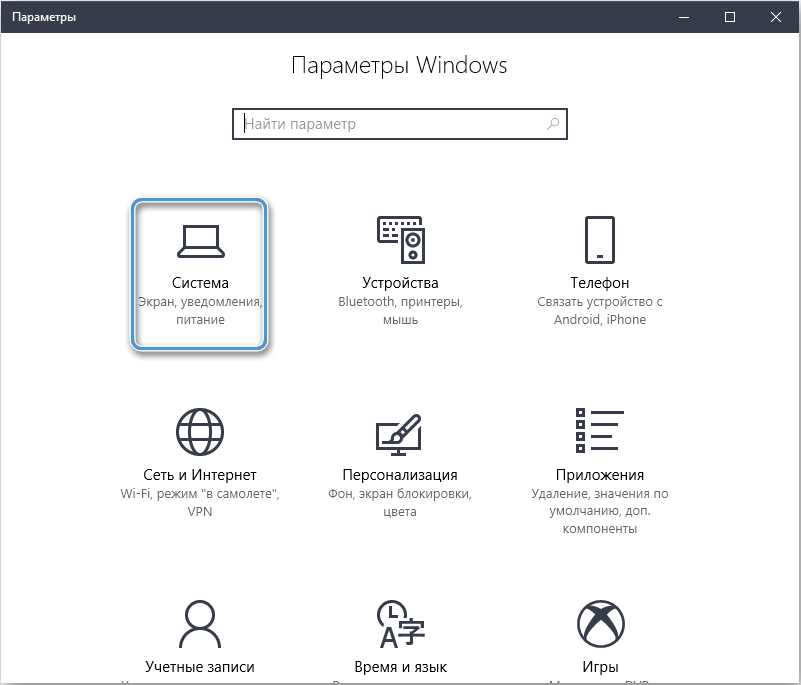
- go to “Display Settings” (right-click on a free area of the desktop – “Display Settings” or open the settings window (Win + I) and go to the “System” – “Display” section);
- in the “Scale and Layout” subsection, select the recommended display resolution from the options in the drop-down list;
- reboot the computer.
Setting Color Display
Faint stripes on the monitor screen may indicate incorrect display of colors, which can be corrected by adjustment. Special software will help you cope with the task, allowing you to configure the display most correctly. Among such programs are Adobe Gamma, Power Strip and others, used to adjust color rendering and other screen parameters.

Resetting your monitor
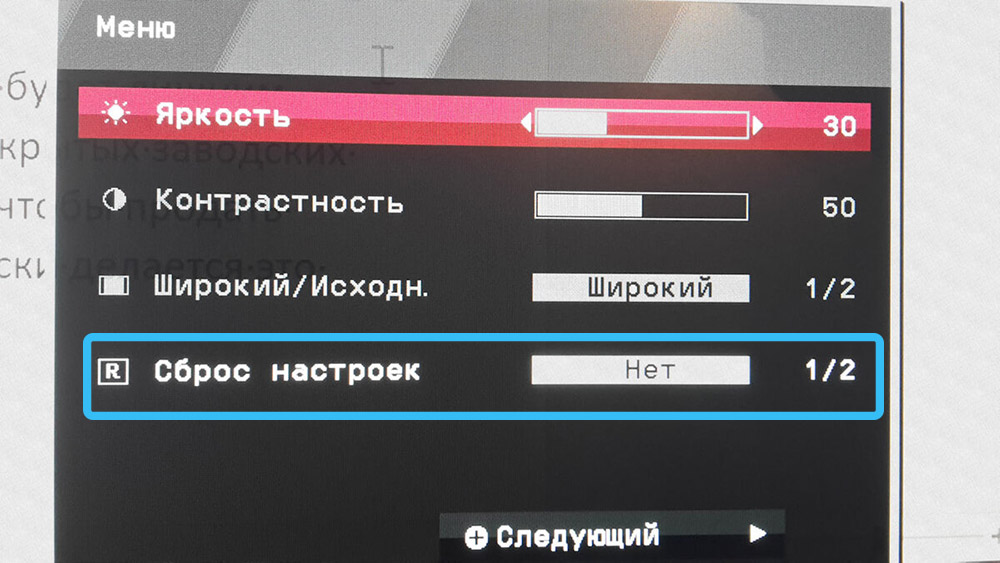
You can return to factory settings using special buttons on the monitor. In addition to the ability to adjust brightness, contrast and other display parameters, the device menu also contains a reset button to default values.
Temperature check and cleaning
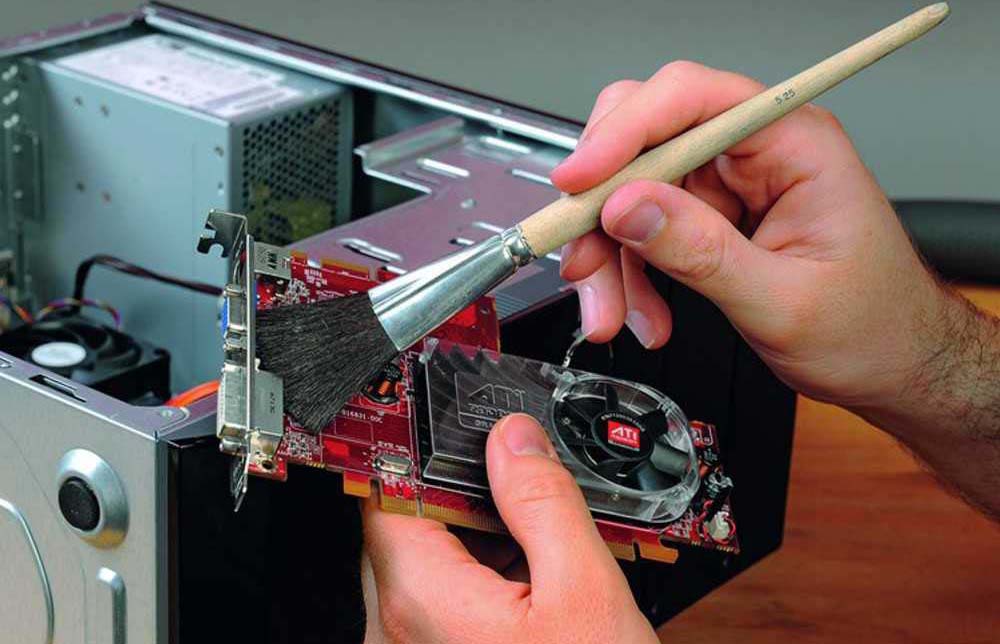
Distortion on the screen may be a result of overheating or severe clogging of the elements, so you should inspect the video card and connection elements for dirt and dust. We perform cleaning if we find that the device needs it. The same applies to the cooling system; in some cases, the thermal paste may need to be replaced.
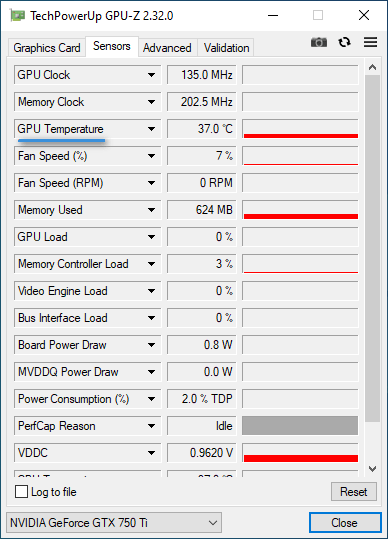
The temperature of the graphics processor can be checked using special software, for example GPU Z. Temperature readings above 80 degrees indicate the need to take cooling measures or replace the video adapter.
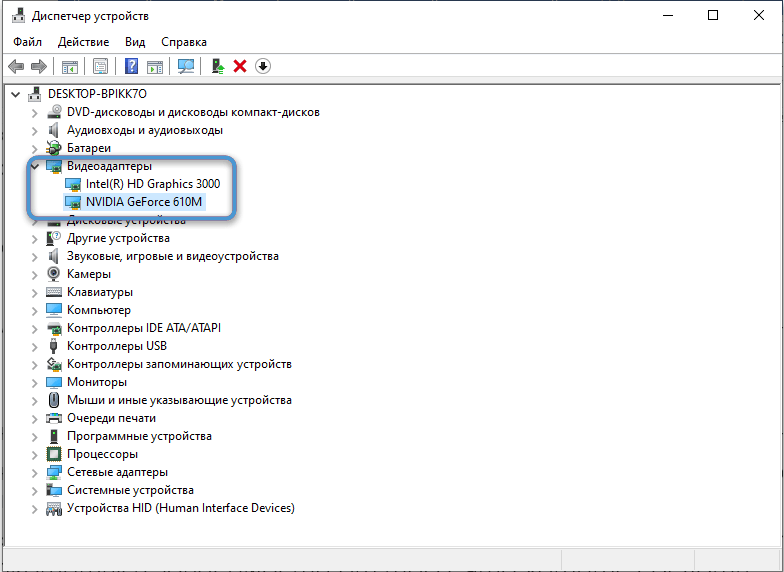
Video card drivers
Updating, rolling back or reinstalling drivers is an effective solution in some cases. The problem may appear at certain moments, for example, when running a program or game. In such a situation, artifacts are a consequence of incorrect or missing drivers, which can be easily solved by installing the appropriate software. There are several ways to install video card drivers; it is better to take the latest software from the device manufacturer’s website.
To update using standard Windows tools, perform the following steps:
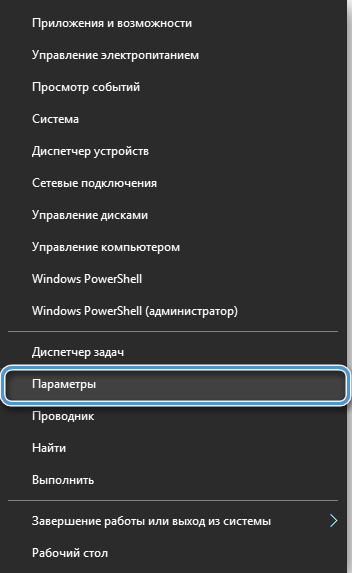
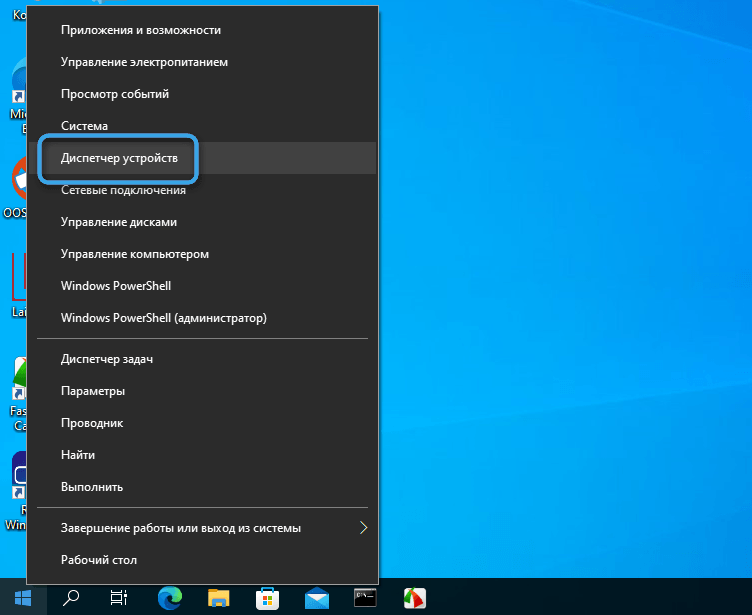
- open the “Device Manager” snap-in in any convenient way, for example, from the Start context menu or using the “Run” console (Win + R) and the devmgmt.msc command;
- find the “Video adapters” branch, click on the name of the installed video card PCM and select the “Update driver” option and select the software search option;
- if the drivers are installed incorrectly, they should be removed and, after restarting the computer, install new ones from the manufacturer’s official website.
Monitor matrix test
You can check the integrity of the matrix in several ways: using special software, by launching a video to test the monitor, or using standard system tools:
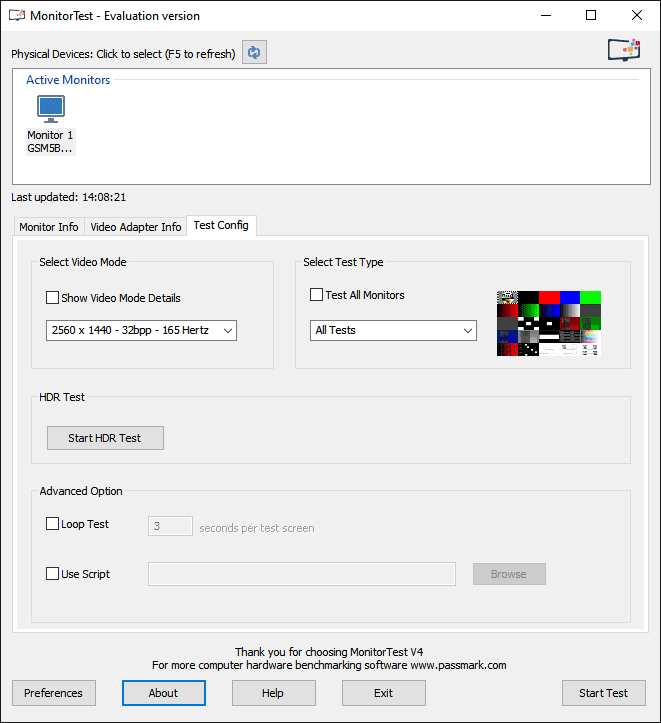
- In the first case, you will need to download a utility, for example, Passmark Monitortest, Eizo monitortest or similar, which allows you to identify dead pixels during testing.
- You can also find a video online for the query “matrix test”. The test also involves filling the screen with one color to identify a dead pixel that is different from the background.
- OS settings also allow you to complete the task using the same principle, but it will take more time. In this case, the desktop elements, including the panel, must be hidden so that the display is completely filled with one color. A background of different colors is selected one by one (solid color: white, gray, black, red, blue, green), which makes it easy to see dead pixels.
The actions are of a diagnostic nature; if defects are detected, the matrix is replaced, so you cannot do without the services of professionals.
The appearance of stripes on the screen is an unpleasant phenomenon, but you should not write off your monitor or laptop ahead of time. Try to solve the problem yourself, in many cases it can be fixed on your own. If components fail and repair or replacement is necessary, it is better to seek help from specialists if you do not have the necessary skills.
What was the reason for the red stripes appearing on your computer? Were you able to eliminate them using any of the above methods? Share in the comments.
