The invention of LEDs was initially positioned as revolutionary. But it took many decades before the technology became so cheap that it began to penetrate the masses. Today, LED lighting is present in almost all areas – LED bulbs illuminate homes, they are installed in car headlights, not to mention numerous digital displays and gadgets.
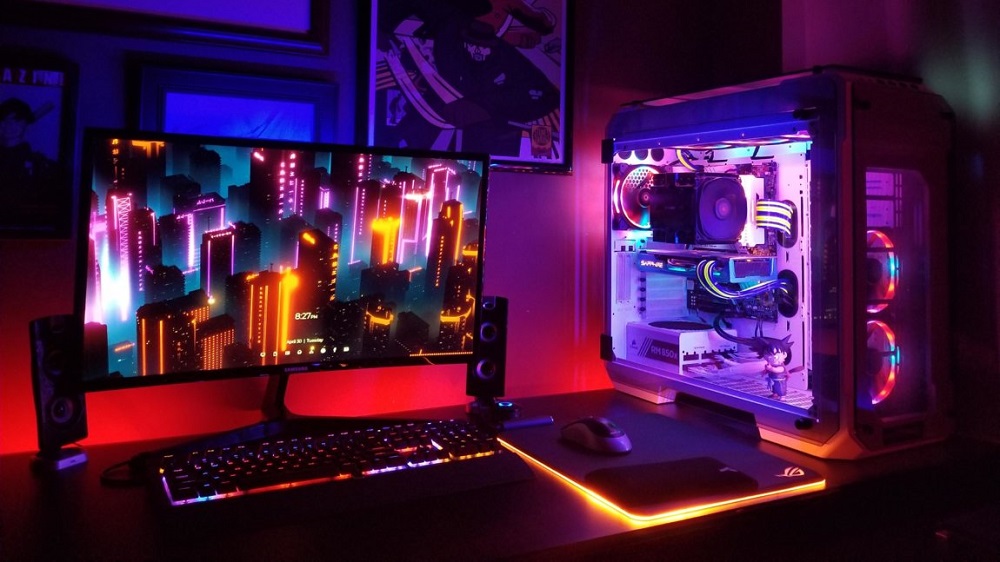
LED strip is also becoming more and more popular, which allows you to independently manufacture backlighting and lighting systems of any configuration and scale. The ease of installation and cost-effectiveness of such solutions makes them in demand in such areas as the backlighting of a computer, monitor or workplace at a desk. Learn how to connect RGB lighting to your PC today.
Contents
Why do it
The era of table lamps seems to have crossed the equator of its life cycle. They can illuminate the space near the monitor or keyboard with the help of an LED strip – this option will be much cheaper both in terms of capital costs and in terms of energy consumption, while the end result will at least be no worse.
When is this backlight used? There are several options:
- to illuminate the workspace in the area of u200b u200bworking at the computer. Here, the main emphasis should be on ensuring that the tape is mounted as high as possible;
- for soft illumination of the workplace to quickly navigate in the dark. If the monitor is located on a wall, the tape can be mounted on its back, preferably using LEDs of the same color;
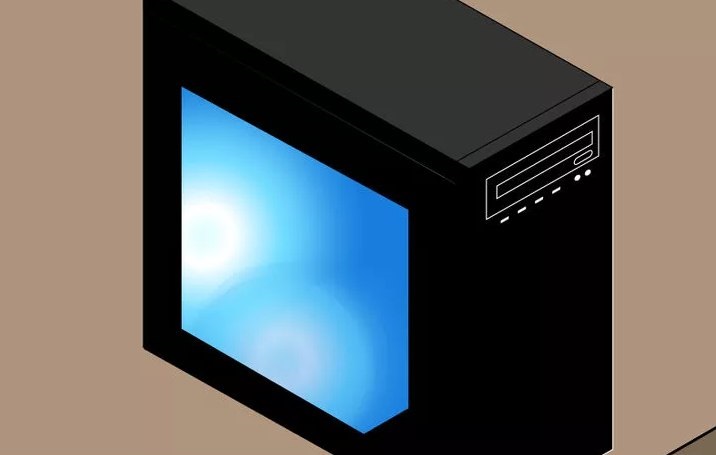
- to illuminate the system unit. Today, a designer computer is no longer exotic, there are system units with a transparent side cover so that you can see the inside of the PC. In the dark, the lighting function can be assigned to RGB backlighting installed along the perimeter of the wall;
- to illuminate the keyboard if you sit late at the computer. Usually, the radiation of the monitor for these purposes is not enough;
- Finally, the LED strip can be used to decoratively illuminate your desk, which is your workplace. There are a lot of options for its location – for example, along the end of the tabletop, under it or on the wall. Such lighting will allow you to do many things without the need to turn on the general lighting of the room.
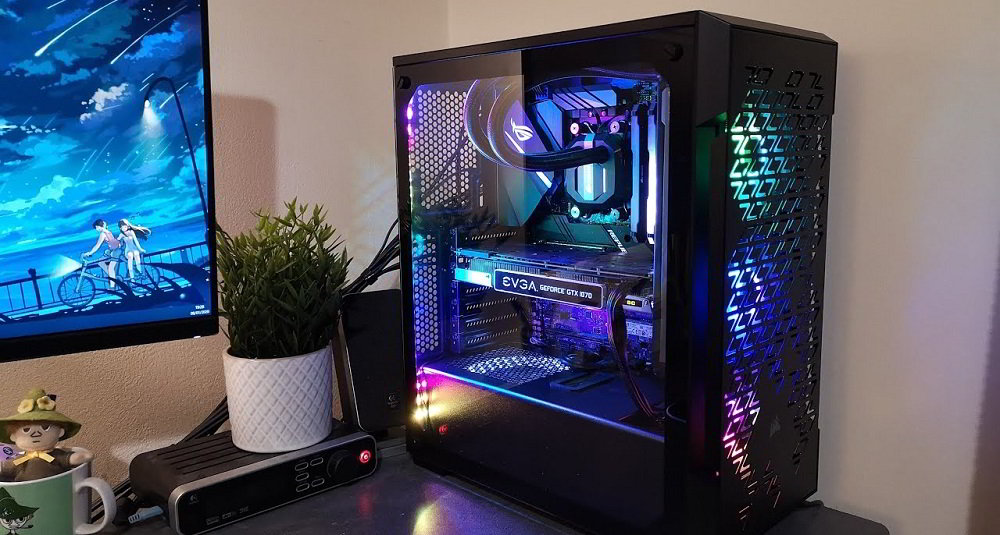
An important advantage of using LED strip is the absence of the need for additional wiring – there are always a lot of wires coming from the computer and peripherals. And a separate outlet is not required, and this also often causes problems. Such a backlight can work up to 10 years without a noticeable deterioration in performance.
Preparatory work
The LED DIY kit is not that small:
- the required amount of LED strip, which can be either single-color or RGB, but always 12-volt;
- clerical or construction knife, scissors;
- nippers;
- wires;
- soldering iron with a thin tip, flux and solder. A regular soldering iron will not work;
- connectors that are selected for the type of LED strip used (for RGB – four-pin, for RGBWW – with 6 contacts);
- a controller is required if you want to change the color of the backlight – without it, all the diodes present on the tape will light up;
- Finally, in order to be able to adjust the brightness of the backlight, you need to purchase a dimmer.
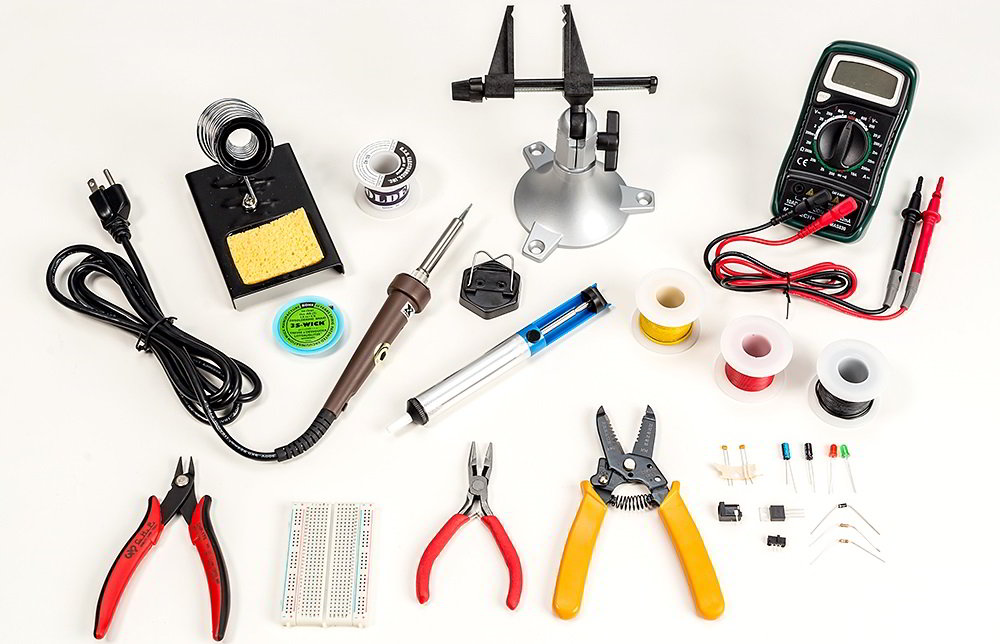
Here is such a simple set of novice lighting technician you will need. The cost of all purchased components is cheap.
Features of self-made backlight
To avoid common mistakes in the design and installation of a backlight powered by a computer, here are some useful recommendations:
- As a rule, the total length of the LED strip is small, which can be explained by the small output power of a PC or laptop in terms of current strength. The calculation of the length of the strip for RGB backlighting is done by simply summing the power of the LEDs included in it;
- the tape is glued to the target surface;
- to obtain a uniform luminous flux, it is desirable to use a so-called diffuser, which is usually an aluminum profile, one side of which is covered with matte plastic;
- an outlet, like for a table lamp, is not required here – the LED strip is powered by the computer. But the connection methods can be different – both directly to the MotherBoard, and through the USB connector, and using a special connector with the required voltage;
- since the current consumption ratings of LEDs are small, the tape will not greatly increase the computer’s electricity consumption, but it is important to accurately calculate its permissible length;
- Since RGB lighting is powered by the PC, it will light up when the computer is turned on and go out when it is turned off. If a separate activation of the backlight is required upon request, special switches are used.
Note that factory tape usually has LEDs on one side and a layer of adhesive to facilitate installation on the other. The desired length of the tape is obtained by simply cutting it off.
Methods for connecting RGB lighting to a computer
To independently make a backlight for a workplace, monitor or computer, you do not need the experience and knowledge of a professional computer technician. Let’s consider in detail the most common options for creating RGB backlighting, which differ in the way they are connected to a voltage source.
From the computer power supply
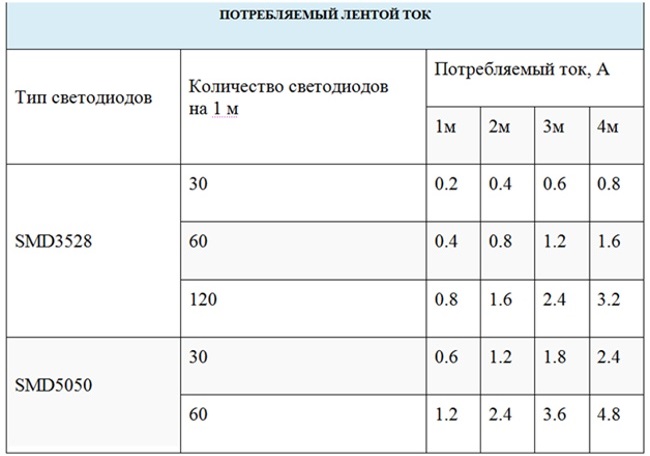
This method is considered the safest and most convenient to implement. Since computers are equipped with a power supply unit with a good margin of power, you should not be afraid that the LED strip will overload the power supply unit. But some calculations will still be required – you need to find out the total current consumption of all PC components, from the central processor and video card to drives and metarinks – all this data can be found on the Internet. As a rule, about 3-5 amperes remain available, which is quite enough to connect a tape several meters long. The following table will help to simplify the calculations:
Step-by-step connection algorithm:
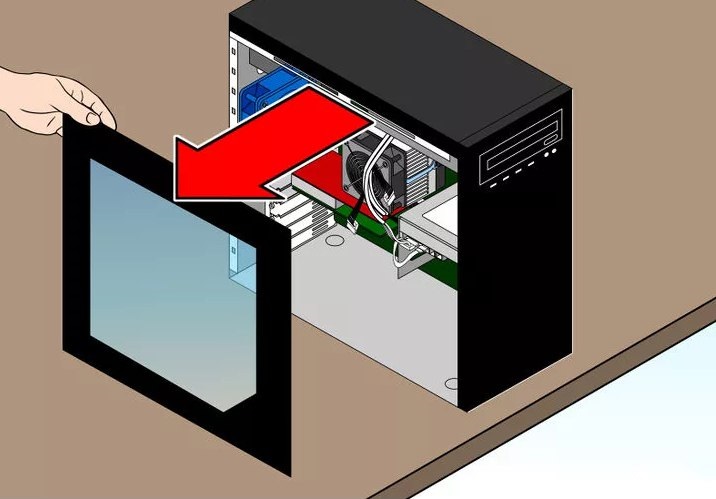
- remove the side cover of the PC;
- it is not necessary to open the power supply unit. It has a sufficient number of wires for connecting peripherals. It is advisable to use a connector for connecting a floppy disk drive (floppy disks), which are practically not used now, or an unused connector for a hard disk. Both are powered by 12 V;
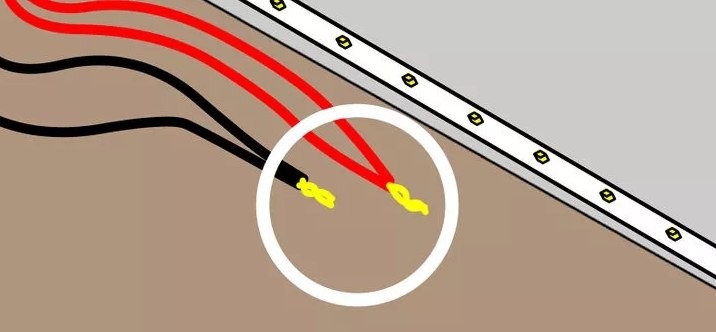
- cut off the connector itself, we will use the yellow and one of the black wires, the other two (red and black) need to be insulated. The yellow wire is supply, black is a minus, when connecting the tape, do not mix it up, otherwise it will not work;
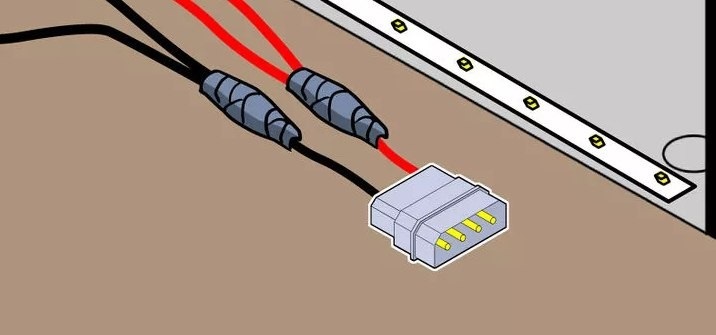
- it remains to carefully solder the wires to the ends of the LED strip (yellow – plus, black – minus);
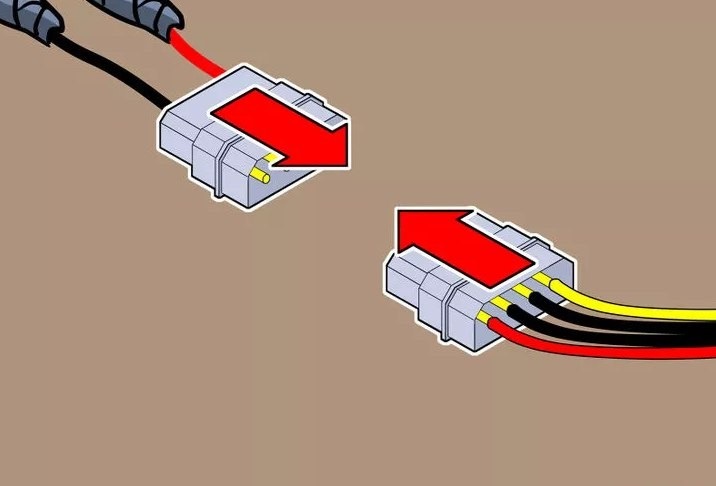
- you can not cut off the connector, but solder the LED strip directly to the pins. This option is even preferable from the point of view of security requirements.
Through the motherboard
This method is even simpler, but it is less versatile, since not all motherboards have a corresponding connector. Usually it is located on the edge of the MP and has the inscription RGB (four pins) or RGBW (5 pins). If there are no such connectors on your motherboard, this method will not work.
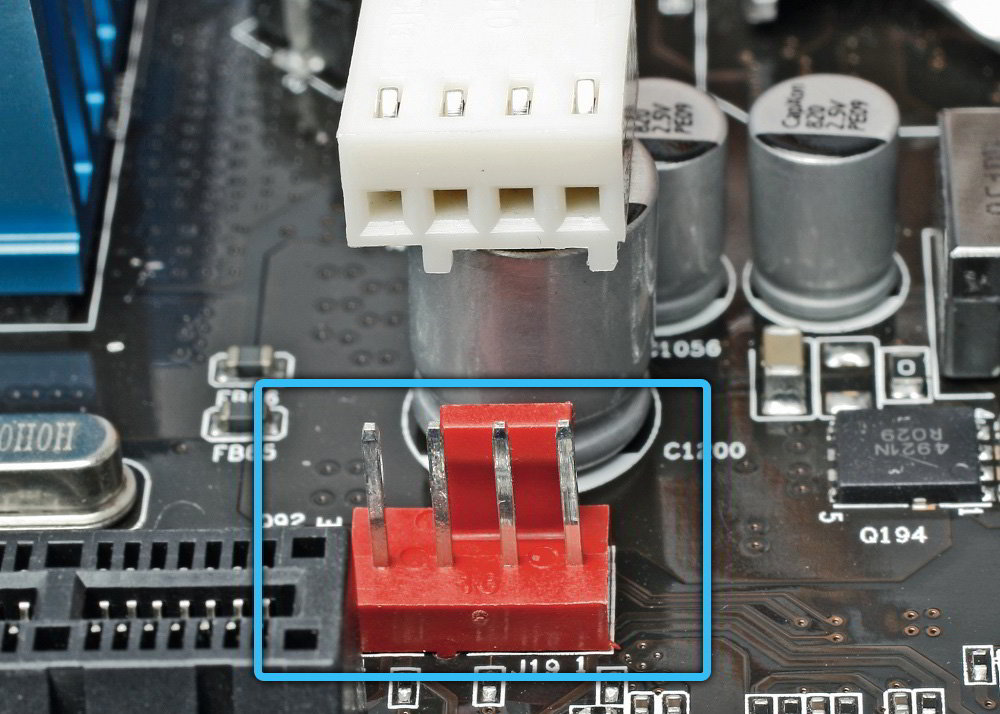
4-pin connector
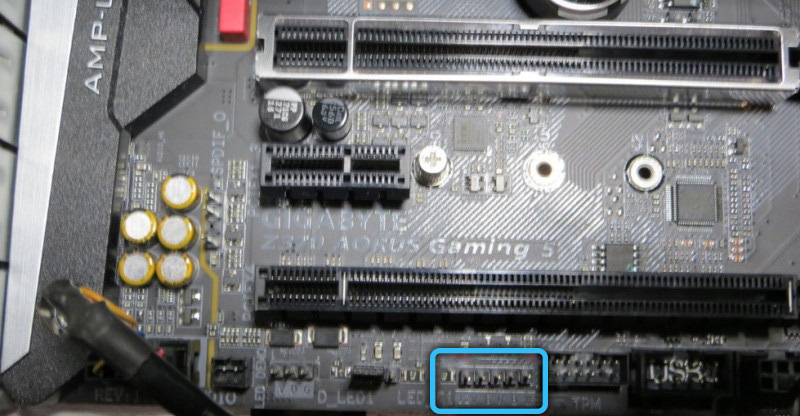
5-pin connector (RGBW)
Detailed instructions on how to connect RGB backlight to the motherboard case:
- we calculate the length of the tape according to the same principle as described in the diagram with a connection via a power supply;
- cut off the tape along the line marked on the back side;
- to connect to the connector on the motherboard, we use a special connector, which can be purchased at a radio parts store;
- insert the cut end of the tape into one side of the connector, then put the chip on the connector on the motherboard until it stops;
- we check the performance of the tape by turning on the computer;
- if everything is fine, we attach the tape itself (you can use a special aluminum profile with matte plastic, which we have already mentioned).
Connecting RGB lighting directly to the motherboard is considered the best option, since it does not require soldering and provides a more reliable contact.
Via USB
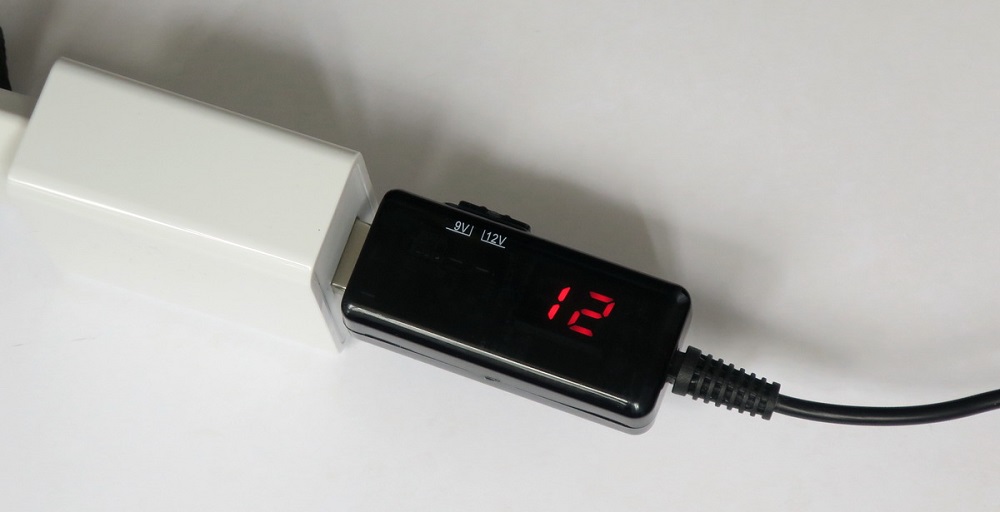
Both methods described above are unsuitable for laptops, so here it is more advisable to use a standard USB connector to connect the backlight. The method is quite suitable for stationary PCs, subject to the availability of free connectors. But here you have to take into account the fact that the nominal voltage supplied to USB is limited to 5 V, and the limiting current is even stricter – only 0.5 A. Since the tape is designed for 12 V power supply, you will have to purchase a special converter, fortunately, it is inexpensive …

Step by step algorithm:
- since when the voltage rises from 5 to 12 V, the current drops 2.5 times to 0.2 A, it will not be possible to connect a long LED strip. It is easy to calculate its length by simple summation, if you know the current consumption of one LED. The best option is SMD3528 tape (60 diodes per linear meter), while the maximum backlight length is 0.5 m;
- a special connector can be used to connect the tape to the connector.
Backlight control
All the described methods of connecting the backlight assume that it will light up when the PC is turned on. If you are using a USB connector, you can disconnect the tape at any time, but this method is not convenient. Let’s consider the main ways to control the backlight:
- you can add a conventional switch in the form of a button or switch (like in a sconce) to the circuit and place it in a convenient place;
- if you need to control the RGB backlight connected to the motherboard, a controller is included in the circuit that allows you to program the color scheme. It is not placed in plain sight, but in such a place that it does not overheat;
- to adjust the brightness of the glow, a dimmer is used, which also allows you to adjust the contrast and color temperature of the diodes, turn off / turn on the tape;
- some models of motherboards come with software that allows you to control the operation of LED backlighting (brightness, contrast, tints and many other effects) through the program.

As you can see, it is not difficult to organize lighting at your workplace. The main thing is to calculate everything correctly, and adhere to the described instructions during installation.