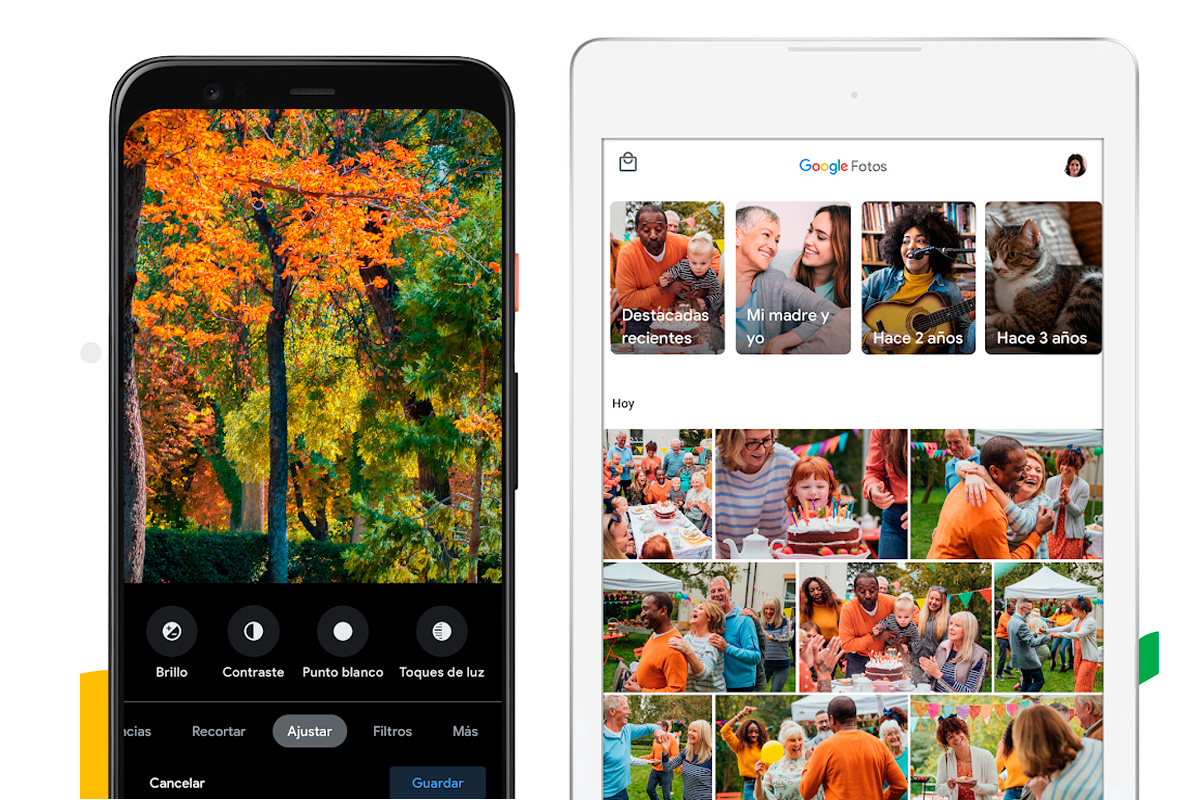
Google Photos is one of the best applications to manage the images on your mobile with its cloud storage that allows us to access them from other devices. If you need all the photos to be in the cloud, discover how to synchronize folders in Google Photos.
In May 2015, Google launched the Google Photos application , a platform to store and manage mobile images. In addition to storing them and creating folders to organize them, in Google Photos you can create collages, movies, videos, etc. Free storage space is currently limited to 15 GB, but more can be purchased for a fee.
Another of the interesting functions of Google Photos is the one that allows you to store images in the cloud and access them from another device that is not your mobile phone. Synchronization must be activated for this. Today we show you how to synchronize folders in Google Photos so that all the images that contain them are uploaded to the cloud.
To know how to synchronize folders in Google Photos, follow the steps that we show you below:
- Open the Google Photos app on your mobile device.
- Click on your profile image that appears with a circular icon at the top right of the screen.
- Then go into “Photo Settings”.
- Then click on “Backup and sync”.
- Now make sure that the option “create backup and synchronization” is activated at the top . The controller must be to the right.
- Scroll down and go to “backed up device folders”.
- There will appear a list with all the folders of your mobile in which it has been detected that there are images or videos. Turn the controller to the right to sync them with the Google Photos cloud.
Another quicker way to sync folders is by opening Google Photos and tapping on the “Libraries” icon that appears at the bottom of the screen. Then you have to click on “utilities ” and then on “device folders with backup”. From there you must choose the folders you want to sync by moving the controller to the right.

HOW TO MARK THE DEVICE FOLDERS THAT WE WANT TO SAVE IN GOOGLE PHOTOS
In the previous section we have told you how to synchronize folders in Google Photos. If you still have doubts, we will explain how to mark the device folders that we want to save in Google Photos.
To mark the device folders that we want to save in Google Photos we only have to enter “device folders with backup”, the function that appears in the “backup and synchronization” section and move the controller that appears next to each one of the folders to the right. Moving it will turn blue, which means it will be active.
WHY GOOGLE PHOTOS WON’T SYNC ALL PHOTOS
In addition to knowing how to synchronize folders in Google Photos, we also get you out of doubt by answering the question of why Google Photos does not synchronize all the photos.
Many users access Google Photos from different devices and sometimes realize that not all the photos they have stored on their mobile appear.
The reasons for this lack of synchronization can be diverse, but among the most common, it usually happens that there are folders that are deactivated and that is why they have not been synchronized. In addition, it may happen that when the folder synchronization has been carried out, the internet connection has been interrupted and the process has been interrupted and that it has been completed correctly.