Smartphones from the giant Apple have been the object of desire of a huge number of users around the world for several years. Among iPhone owners there are both those who regularly purchase Apple gadgets and new users for whom this is the first Apple smartphone. The second group is quite actively interested in what to do with a brand new iPhone immediately after purchase. This article will talk about how to activate your iPhone when you first turn it on and perform the basic setup. Let’s figure it out. Go!
Understanding activation
Apple smartphones activation is the process when a new gadget is connected to Apple servers via the Internet. This allows you to obtain the necessary permissions and prohibitions to use the phone with an installed SIM card.
The concept of a locked phone is often used. iPhone can be divided into 2 types:
- Smartphones purchased with an operator contract. These iPhones are also called locked, contract, carrier and tethered. Their peculiarity is that activation is possible only if you have a SIM card of the operator to which the device is tied. Activation via SIM cards of other operators will not work;
- iPhone without tethering to a cellular operator. These are SIM Free phones, officially unlocked and just official. Synonyms are different, but the essence is the same. Activation is possible if you have a SIM card from any mobile operator.
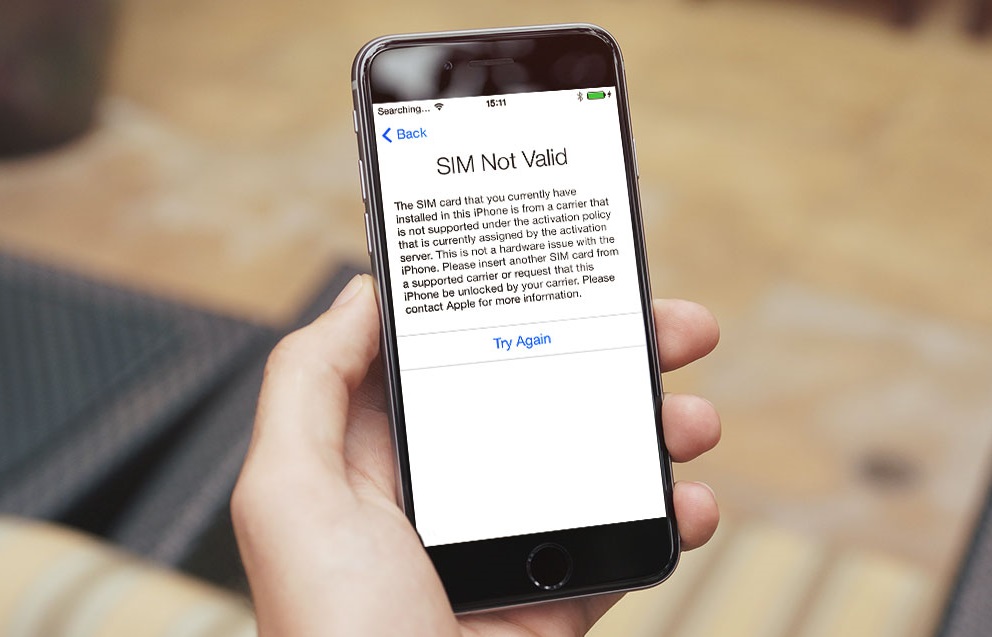
The problem with iPhones imported from abroad is that they often turn out to be contractual. And since the operators are different everywhere, no one wants to use the SIM card of a foreign cellular company. The phone has to be hacked, which threatens potentially not the most pleasant consequences. iPhone can lock up and turn into useless hardware.
Therefore, it is better to always buy unlocked official iPhones that do not have such a binding. Then there will be no problems with activation.
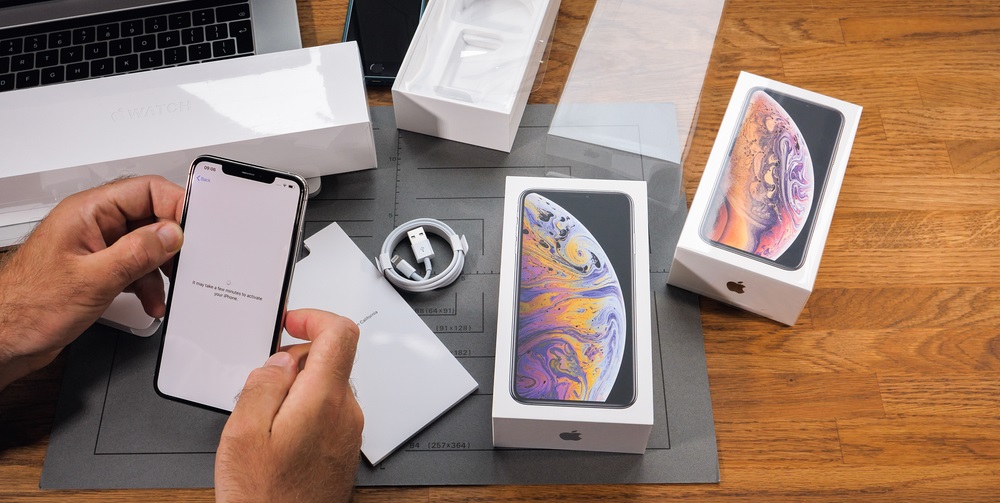
First, of course, you need to get your iPhone out of the box. The whole process will be considered on the example of iPhone 5S, but it does not really matter, since the procedure is the same for all mobile “Apple” devices. After the so-called unboxing, you can turn on your smartphone. To do this, press and hold the “Power” button until the company logo in the form of an apple appears on the screen.
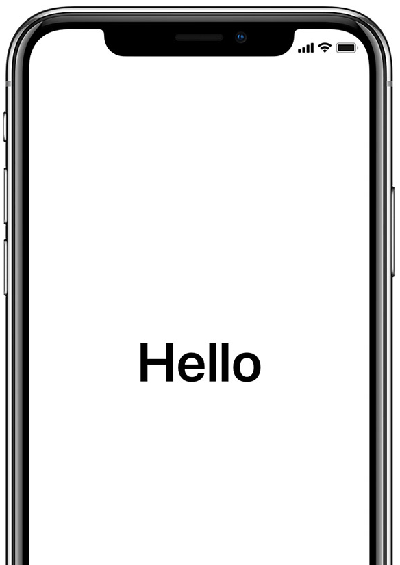
After waiting for a short time, you will see the welcome screen. When your iPhone has greeted you in all sorts of languages, slide your finger across the appropriate area to go to language settings. Select a language convenient for you from the list.
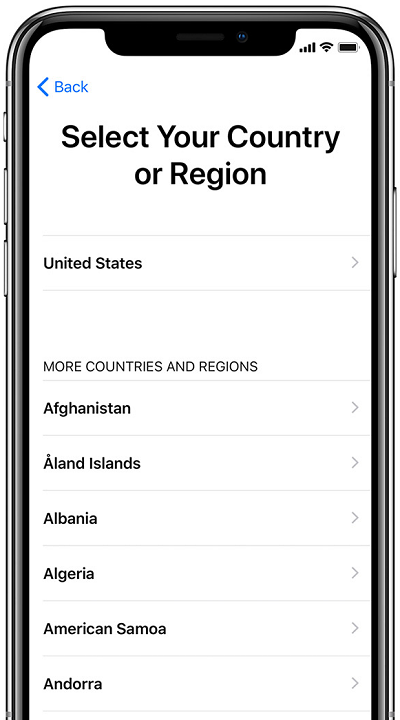
The next step is to specify the country. After that, you will be prompted to select a Wi-Fi connection. You can connect right away or you can skip this step to come back to it later. Next, you will need to connect to iTunes, you will see a corresponding message on the screen. Open your computer and download the iTunes utility directly from Apple’s official website.
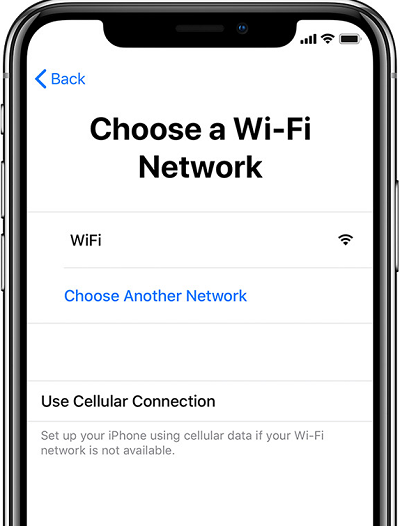
Please note that you must have the latest version of iTunes installed to avoid possible setup problems. After installing the program, connect your iPhone to a laptop or computer using the cable that comes with the phone. Keep in mind that if you connected to a Wi-Fi access point in the previous step, then all this can be done via Wi-Fi without physically connecting to a PC. Then the PC will detect the smartphone, and you will proceed to the next stage of the setup, namely, the choice of the location determination service.
Next, choose how you want to set up your iPhone. Three options are offered:
- Like new (for those who have this first iPhone, or for those who want a clean device without old content).
- Restore device from iCloud (if you already have an account in the iCloud cloud service, then you can transfer all data to the new device from the backup copy of the previous device stored there).
- Recover from iTunes. Similar to point number 2, with the difference that the backup is not stored in the cloud, but on your computer.
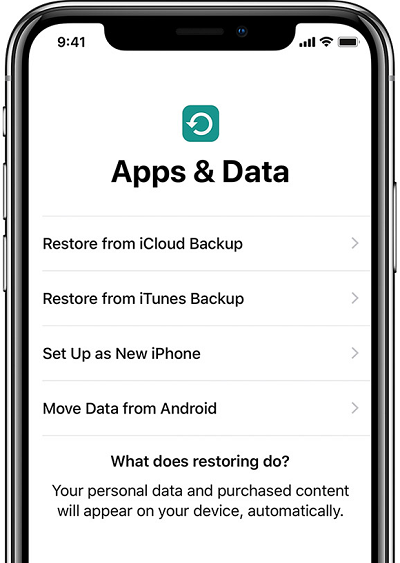
If this is your first iPhone, choose the first method. Next, you must accept the user agreement, otherwise you simply won’t be able to use the phone.
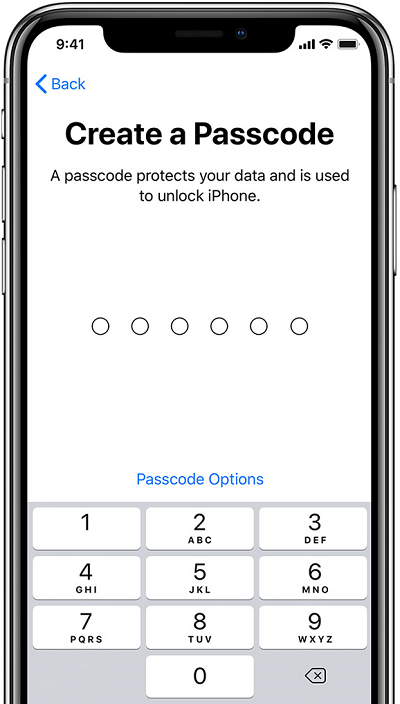
Now let’s move on to setting up Touch ID. This feature is present in all iPhone models starting from version 5S. It allows you to unlock the device using your fingerprint and confirm purchases in the AppStore in the same way. A very handy feature that significantly reduces the time it takes to unlock your iPhone, you can set up Touch ID now or return to it later. This is done quite simply. You need to put your finger on the “Home” button as shown on the screen. Place your thumb several times in all possible positions, at different angles. When the scan of your fingerprint is completely recreated on the screen, you can continue further. Enter your password to login. This is necessary in case, for some reason, you cannot unlock the device with your fingerprint.
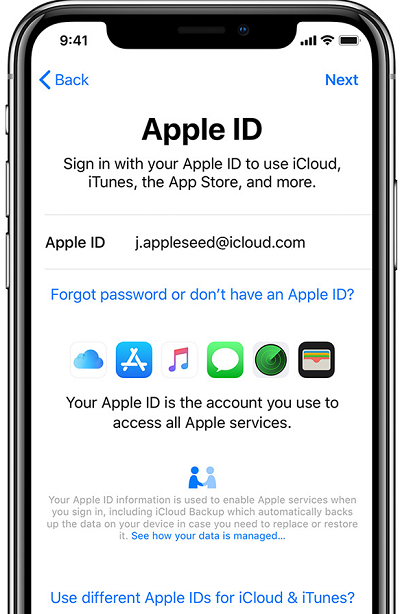
Next, you can choose to send or not send Apple anonymous iPhone activity report. It all depends on your desire. After that, you will see the long-awaited inscription on the screen “Welcome to iPhone”, which means that the installation and configuration is complete, and you can start using your iPhone.

Actual innovations
This is not to say that after the appearance of the new iPhones, which came out after the iPhone 5S, there were serious changes in the activation process.
These are rather targeted innovations that are aimed at simplifying, speeding up the activation process, as well as gaining additional opportunities for owners of Apple smartphones.
Among the activation innovations, we can mention the following innovations from the developers:
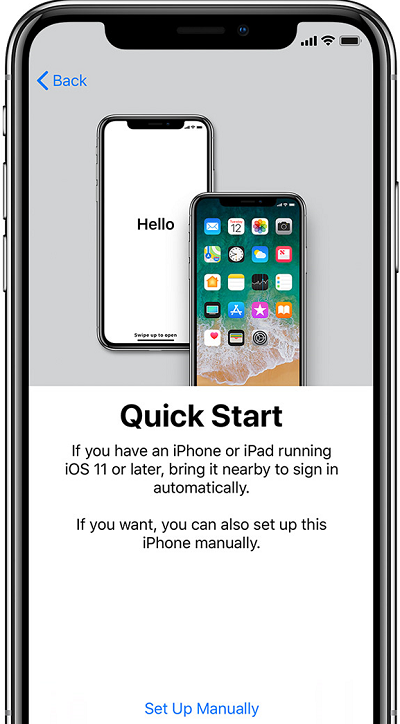
- Starting with the mobile operating system iOS 11, iPhone users have the ability to use quick setup. Its essence is that data is copied from another apple device. But such a device must also run on iOS 11 or a newer version of Apple’s mobile platform.
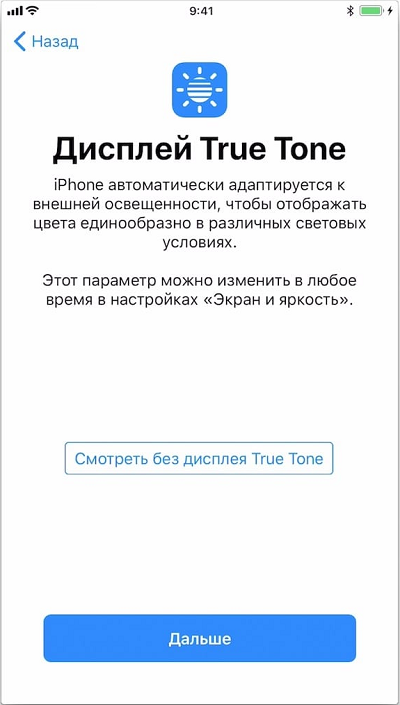
- With the introduction of the iPhone 8, 8 Plus, and iPhone X, the True Tone display activation feature is available. This functionality allows the display to automatically adapt to the ambient current lighting.
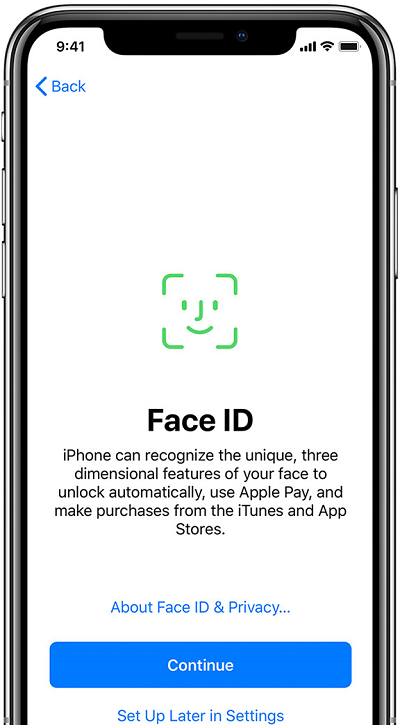
- The previous Touch ID feature has been replaced with Face ID since 2017 and iOS 11. Now, upon activation, you can use your face as an identifier. To do this, at the appropriate stage of activation, the front camera is turned on. The device reads the face and remembers it. But if you do not want to use such a function of recognizing the face of the owner of the phone, you can skip it and turn it on only later, as you use the apple device.
As you can see, everything is done quite simply. Even if you are an inexperienced user, it will not be difficult for you to figure it out. Write in the comments if this article was useful for you and ask any questions of interest on the topic discussed.